Avaya Messaging Administration Interfaces
Configuring and managing Avaya Messaging is accomplished using either the Microsoft Management Console (Avaya Messaging Admin) included with Windows, or using Google’s Chrome Web browser (Web Admin).
|
Note: All administrative functions are available through MMC. Web Admin provides a subset of all functions; User Management (Feature Groups and Mailboxes), Voice Menus, and Routing Tables. |
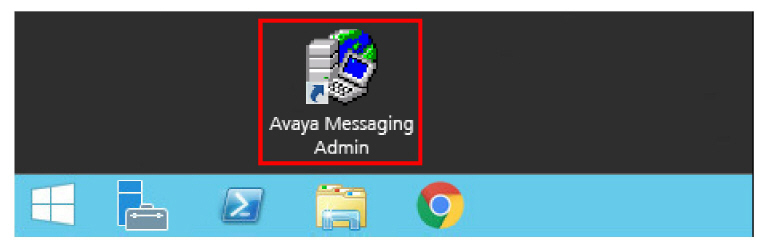
The installation of Avaya Messaging will have added an icon to the voice server desktop. Clicking this icon launches the Microsoft Management Console (MMC) with the Avaya Messaging plug-in. Login to the application using either the default administrator credentials, or (once they have been setup) the domain login credentials.
All administrative functions are available when using Avaya Messaging Admin.
Default Credentials
The default administrator password was configured during the installation of Avaya Messaging.
1.On the voice server, double-click the Avaya Messaging Admin icon on the desktop.
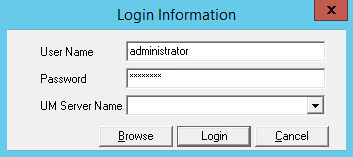
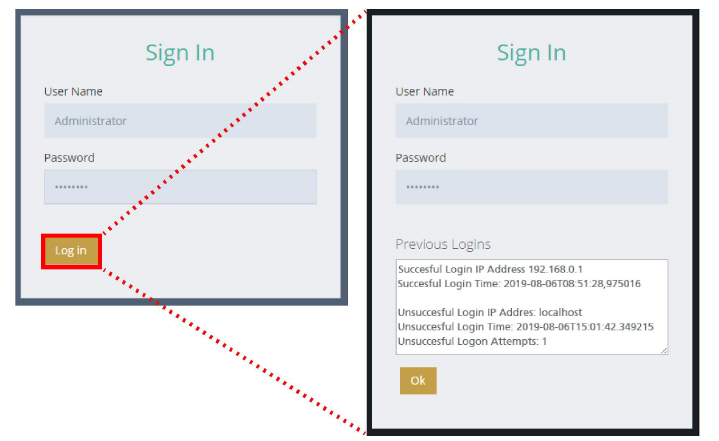
2.Enter an administrator username and password. When ready, click Login.
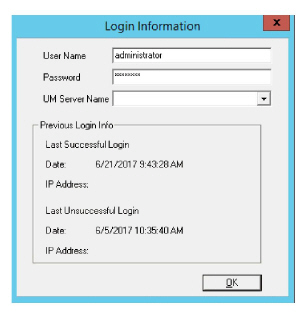
3.If you have a High Security license, you will see the last successful and unsuccessful login attempts. Click OK to start the management console.
If you have a standard license, the management console will start immediately.
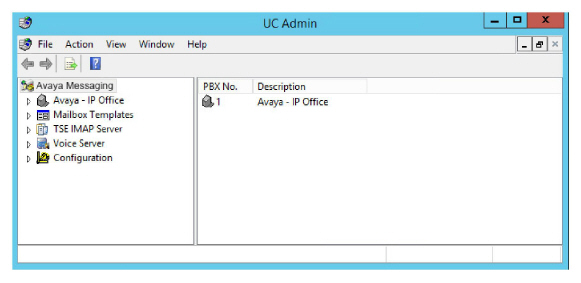
4.The administrator console will launch.
Domain Credentials
The default credentials for Avaya Messaging Admin were configured during the installation of Avaya Messaging. The management console can be configured to use domain login credentials instead.
|
Note: Making the change to Domain Login also affects logging in to the Remote Administrator, Web Administrator, and Web Reports consoles. The same credentials are used for each application. |
1.Login to the Avaya Messaging Admin console with the default credentials and go to Configuration > User Manager.
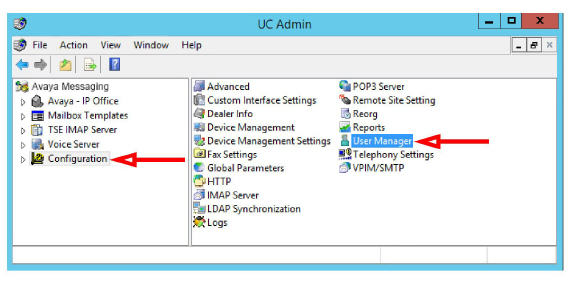
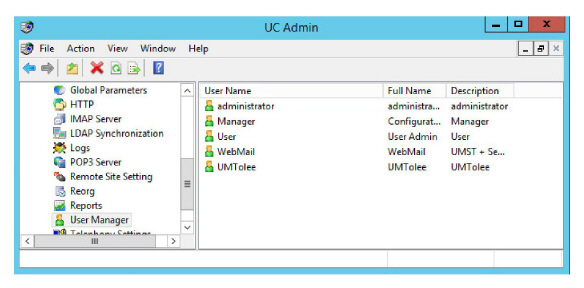
2.Double-click User to open its properties window.
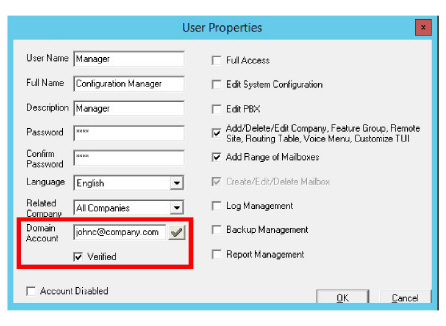
3.In the Domain Account field, enter an email address for the domain you want to use for logging in. The supported domains are Google, Office 365 and Windows.
Click the ![]() to verify the entered value. If a valid address was entered, the Verified checkbox will be enabled.
to verify the entered value. If a valid address was entered, the Verified checkbox will be enabled.
Click OK when ready.
|
Warning: Configuring Domain Login on any account will activate it for ALL. If different credentials are required for each account, each must be configured separately. |
After making this change, whenever you login to the management console you will be prompted to choose the domain credentials to use for authentication. Provide your username and password when prompted.
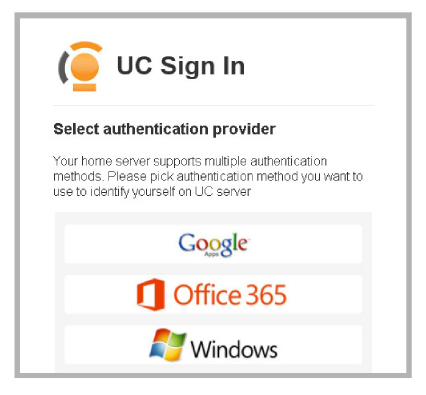
Once the selected application verifies your identity, Avaya Messaging Admin will start.
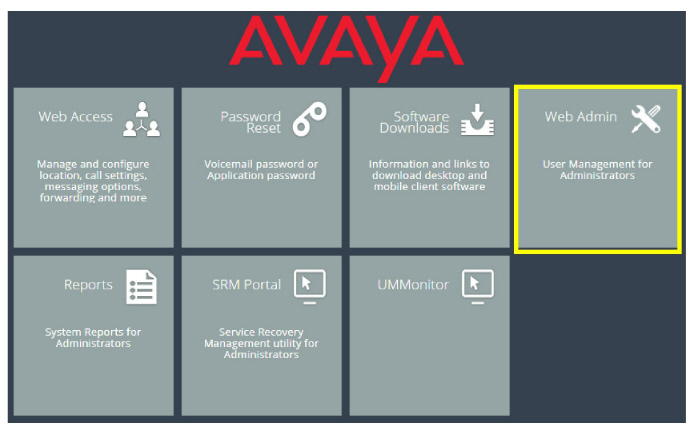
Web Admin: Google Chrome Web Browser
Once Avaya Messaging has been installed on the voice server, the more common administrative functions can be accessed using the Google Chrome Web browser.
1.From any computer with Internet access, open the Google Chrome Web browser. Enter the IP Address for the Avaya Messaging voice server. For example:
https://192.168.0.1
|
Note: The Avaya Messaging server must be configured to allow access via the Internet. Refer to the Server Install Guide for complete details. |
2.From the Web Console menu, select Web Admin.
3.At the login screen, enter the administrator User name and Password for the Avaya Messaging voice server, then click Log in and OK.
4.The Web Admin screen appears in the browser window.
