Establishing an SSL Proxy for the server will enable a greater level of security for transactions between users and their online data. This procedure is optional, but it is strongly recommended to ensure the highest level of data protection for corporate clients.
An SSL Proxy can be used with Avaya’s iLink Pro Desktop and Avaya iLink Pro Mobile (Android, iOS, BlackBerry) clients.
This procedure is performed only on the voice server, or on the Consolidated Server in a High Availability (HA) environment.
A security certificate must be acquired from a 3rd party source before proceeding with the setup.
1.To load the certificate into the operating system, open the Microsoft Management Console (MMC) on the server (go to Start and enter MMC.exe in the command line, hit Enter). The Root Console will open.
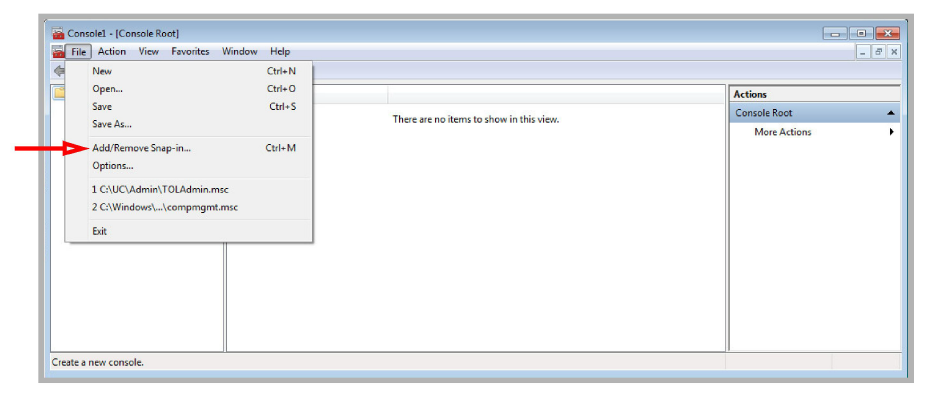
2.Under File, select Add/Remove Snap in....
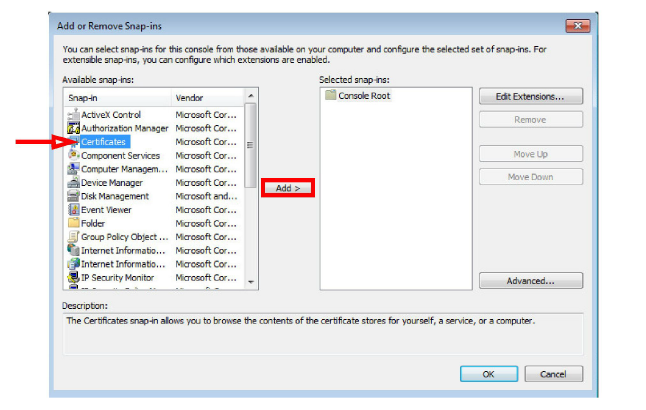
3.Choose Certificates and click Add.
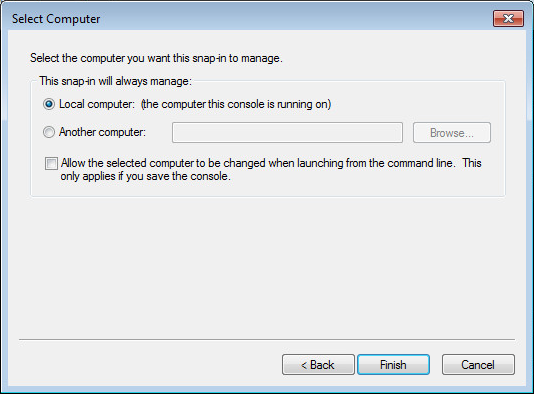
4.Select Computer account and click Next.

5.Click Finish to add the Certificates console to the MMC.
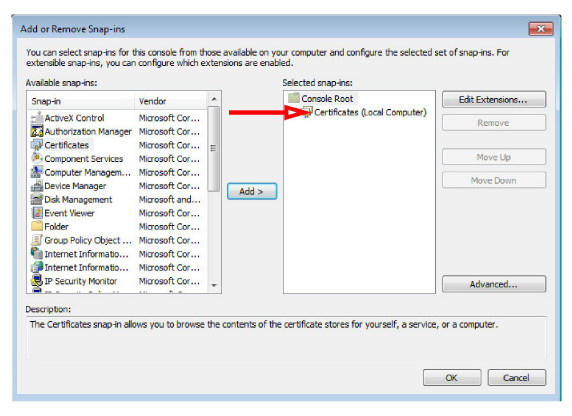
6.The Certificates snap-in has been added to the console. Click OK to close the window.
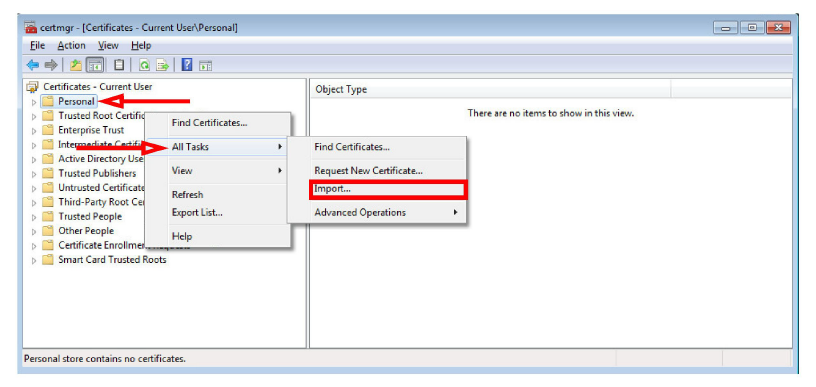
7.Open the Certificates snap-in and right-click Personal. Choose All Tasks > Import.
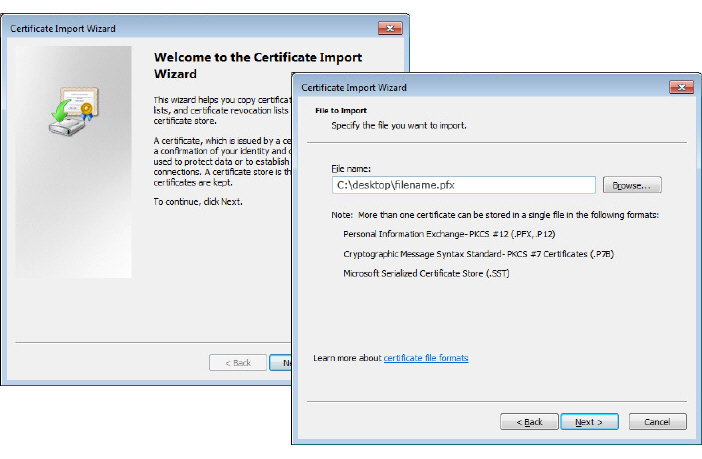
8.Click Next in the installation Wizard. Enter the full path and name to the Certificate file. Or click Browse to locate the file manually.
Click Next.
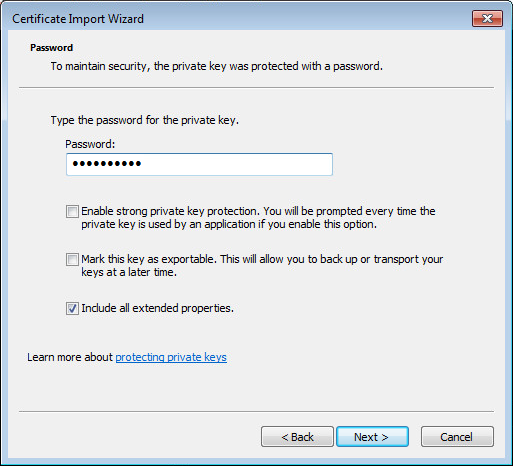
9.At the prompt, enter the password to unlock the Certificate. Click Next.
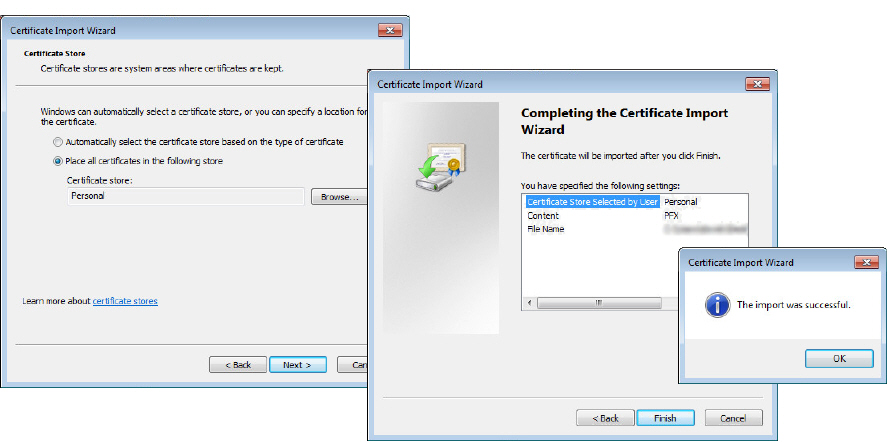
10.Leaving all other settings at their defaults, click Next, then Finish.
Once the certificate has been installed, the voice/consolidated server must be setup to use it for authentication requests.
1.Open the IIS Manager on the server (go to Start and enter inetmgr in the Search box).
2.Under the local machine, open Sites.
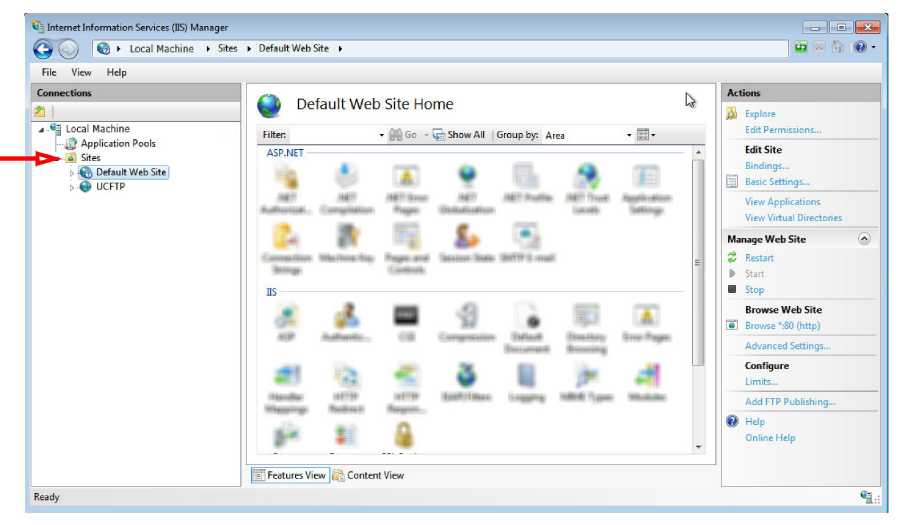
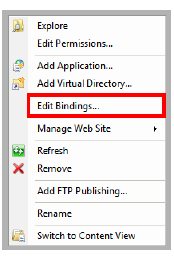
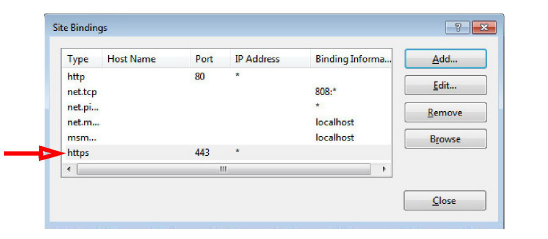
3.Right-click Default Web Site and select Edit Bindings.
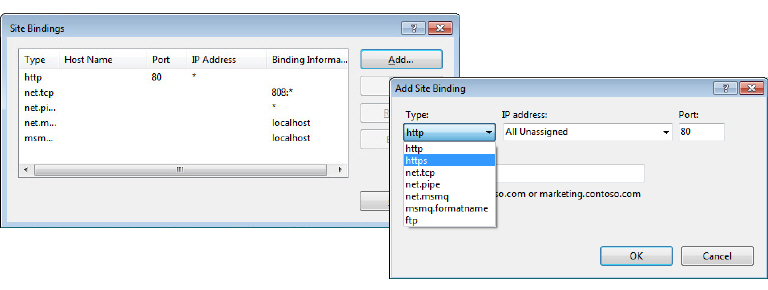
4.From Site Bindings, choose Add and select https from the list of available types.
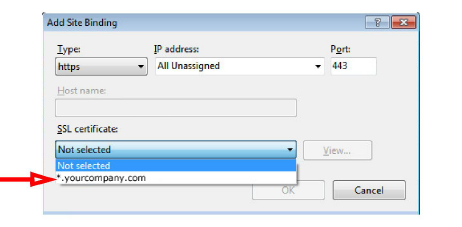
5.Pick the certificate from the list provided under SSL Certificate. Click OK to continue.
6.The binding between the server and certificate has been created.
To enable the SSL Proxy on the system, complete the following steps.
1.On the voice/consolidated server hard drive, in the C:\UC\UCSSL folder, run the SSLProxy.exe program.
2.Locate the certificate file on the hard drive and double-click to open it. Go to the Details tab.
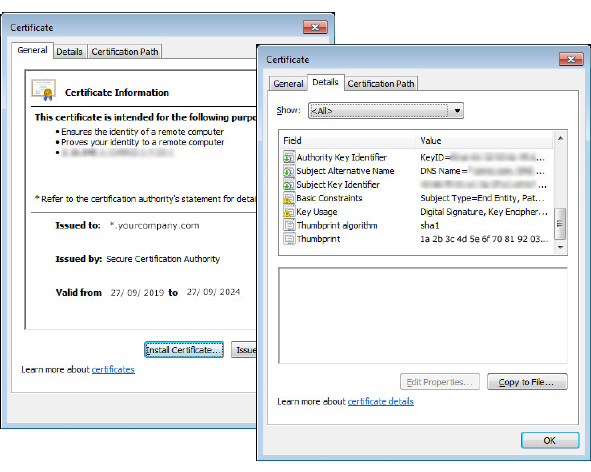
3.Click Thumbprint and copy the displayed key text.
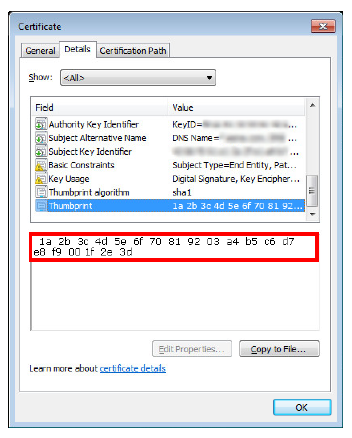
4.Use a text editor (such as NotePad) to open the SSLProxy.exe.config file, also located C:\UC\UCSSL folder, and replace the CertificateThumbprint value with the copied text.

5.Reboot the server.
The installation of the certificate and SSL Proxy is complete.