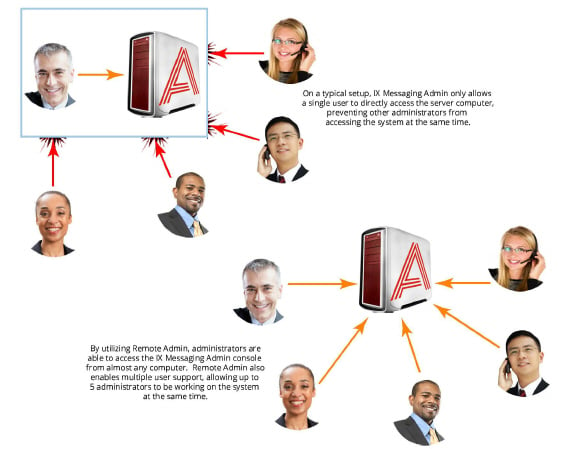
Remote Admin allows system administrators or support personnel to remotely access Messaging Admin from their own workstation, eliminating the need to be in front of the server in order to perform administrative functions.
|
Requirements |
Details |
|---|---|
|
Software |
Microsoft Windows Server 2012 and 2016 Microsoft Windows 7, 8, and 10. |
|
Network |
Workstations where remote admin is installed must be in the same network domain as the Messaging voice server |
|
Warning: Utilizing remote admin means that more than one person may be managing the database. If two or more people make changes to the same entry, the first change may be overwritten without notification. |
|
Note: The maximum number of people that can connect using Remote Admin is 5. |
|
Important: Avaya Messaging must be installed and operating normally on the voice server before proceeding. |
|
Important: Remote Admin must be installed on the same subnet as the Avaya Messaging voice server, or the Consolidated Server on a High Availability installation. |
Remote admin must be installed on each workstation where it will be used.
1.On the voice server, or on the Consolidated server in a High availability environment, locate the Messaging installation directory (this is C:\UC by default). Share the UC folder with the Windows user(s) who will be running Messaging Admin remotely.
2.On a remote workstation, login and verify that this user has access to the UC folder on the server. Go to \\ComputerName\UC and attempt open the folder (change ComputerName to the name of the server on your system). If you can open the folder, then the share was a success and you can continue with the installation.
3.Copy the \UC\RemoteAdmin\RemoteAdmin.exe file from the server to the remote machine.
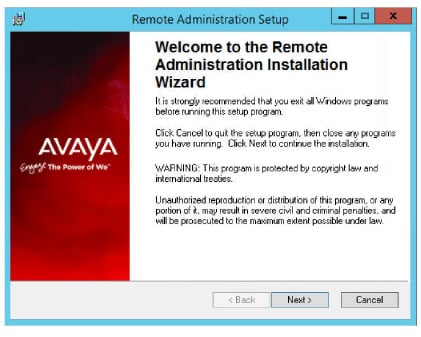
4.Launch (double-click) the program and the Remote Administration Installation Wizard will start.
Click Next to begin the installation.
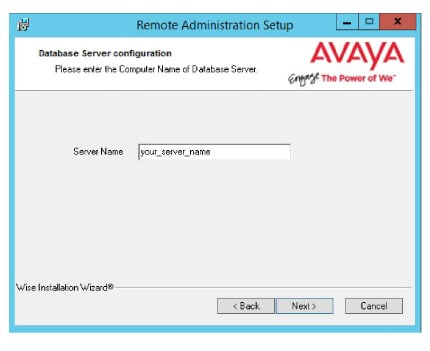
5.When prompted, enter the computer name for the Avaya Messaging voice server, or the Consolidated Server. Click Next.
6.The program is ready. Click Next to begin installing the program.
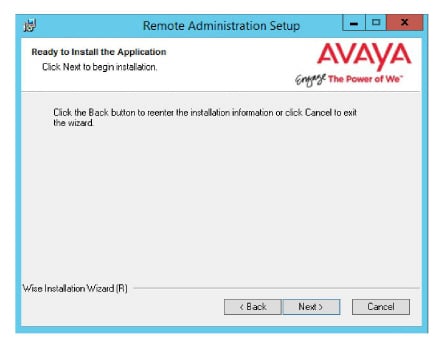
7.Remote Administrator will be installed on the system.
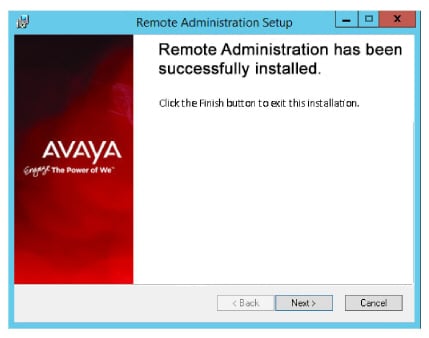
8.When finished, the wizard will report that the installation was successful.
Click Finish to complete the installation.
Remote admin is now ready to be used. A shortcut will be placed on your Windows desktop to access the program.
To connect to Messaging Admin remotely, you will need the login credentials.
1.Run the Messaging Admin shortcut from the desktop. The login screen appears.

2.Enter the User Name and Password in the appropriate fields. Click OK.
|
Caution: The computer launching Remote Admin must be a member of the same domain as the Messaging server in order to make the connection. |
3.You will be remotely connected to the Messaging Admin of the remote server.