Print Server enables the printing of emails in a User mailbox via the Telephone User Interface (TUI) to a fax machine. This process will convert the email’s text to a tiff formatted file.
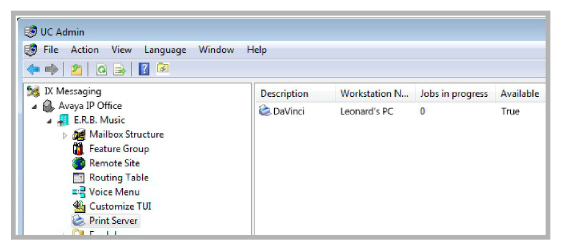
Launch UC Admin and locate Print Server in the left-hand pane.
Description: This field displays the name of the print server.
Workstation Name: This field displays the name of the PC where the print server is installed.
Jobs in progress: This field displays the number of jobs being printed.
Available: This field displays the availability of the printer server.
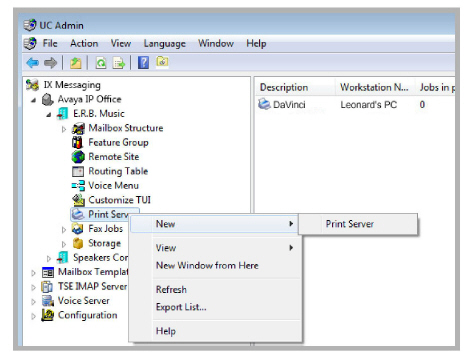
To create a new entry, right-click on the Print Server in the left-hand pane and choose New > Print Server. To edit an existing entry, double-click it in the right-hand pane.
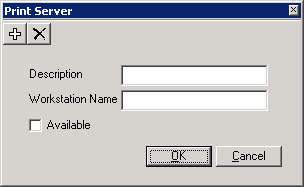
Description: Enter a name for the Print Server. This is for your reference and has no impact on performance.
Workstation Name: Enter the name of the PC where the Print Server is installed.
Available: Enable this checkbox to activate the Print Server. Your selection will be displayed in the Print Server screen as True or False.
 Add Print Server: Create a new print server.
 Delete Print Server: Remove the current print server from the system.