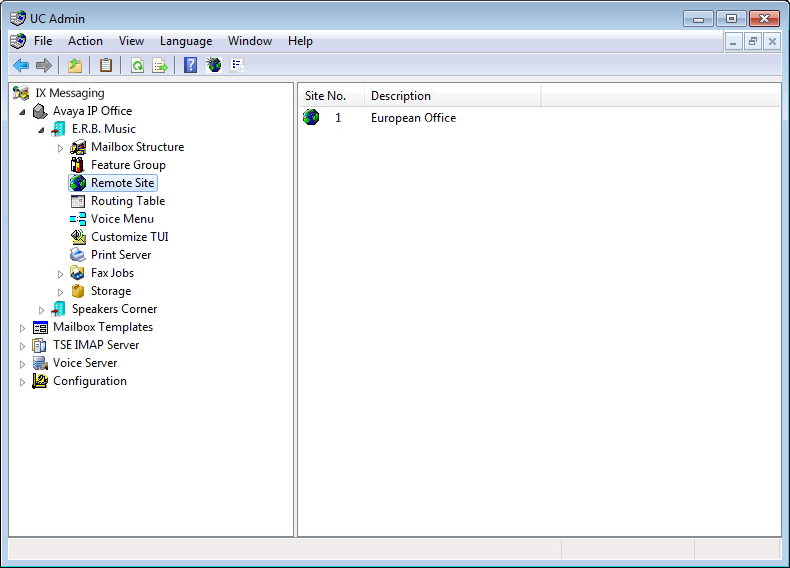
Creating a Remote Site allows the UC server to communicate with other voice messaging servers. The two servers can send and receive voice messages from one another by using one of two standardized methods, AMIS (Audio Messaging Interchange Specification) or VPIM (Voice Profile for Internet Messaging).
Voice Profile for Internet Mail (VPIM) is an International Telecommunications Union (ITU) standard that allows different types of messaging servers to pass voice and fax messages among each other over the Internet.
Creating a VPIM address allows the UC server to use VPIM to send messages to assigned network voicemail users.
Remote Site Buttons
|
Button |
Description |
|---|---|
|
|
Add a new Remote Site. |
|
|
Delete current Remote Site. |
|
|
Save current Remote Site. |
|
|
Refresh current Remote Site settings. |
|
|
Move to first Remote Site. |
|
|
Move to previous Remote Site. |
|
|
Move to next Remote Site. |
|
|
Move to last Remote Site. |
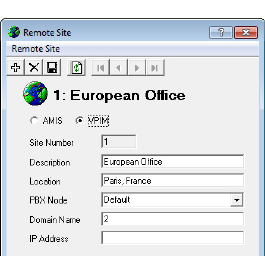
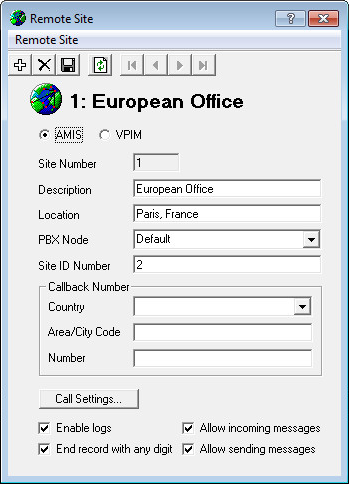
Site Number: The site number will be automatically assigned according to the number of Remote Sites that you have defined.
Description: Enter a description of the site. Typically, it will be the company name of the site.
Location: Enter the location of the site. Typically, this will be the city and state for U.S. locations and city and country for international locations.
PBX Node: From the dropdown menu, select the PBX node of the VPIM site. The PBX node is configured from PBX properties under the PBX Node tab. Node numbers must be assigned sequentially starting with 1 (e.g. 1 2 3 4...).
Domain Name: Enter the domain name of the VPIM site. Alternatively, you may use the IP Address to connect to the VPIM site.
IP Address: Enter the IP address and the port number of the VPIM site. Alternatively, you may use the Domain Name to connect to the VPIM site.
|
Note: The Domain name or IP Address entered must correspond with the Domain name or IP address specified in the Company properties of the VPIM site. |
|
Note: Enter the information as a standard address, followed by a colon and the port number |
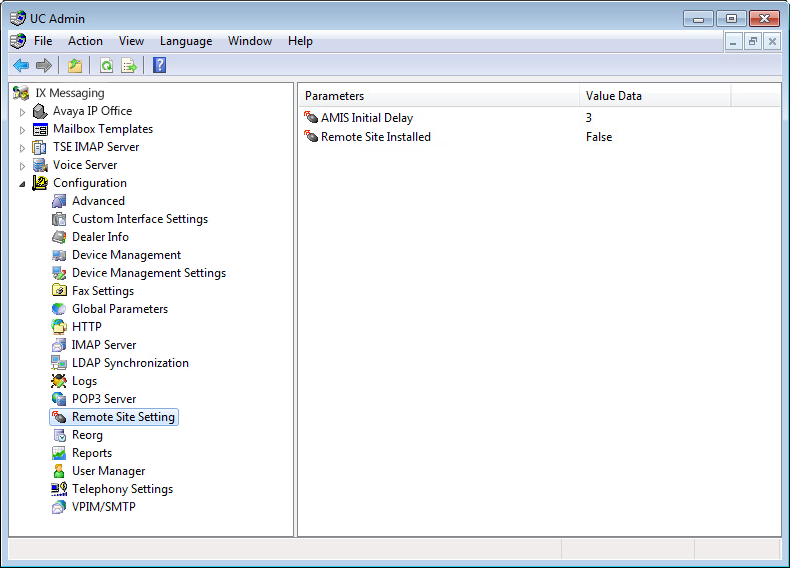
You must make sure that both AMIS and VPIM is enabled in the configuration in order to utilize the Remote Site Function.
AMIS Initial Delay: This is a timer setting for receiving AMIS packets from other sites. The default is 3 but you can adjust it for fine-tuning.
Remote Site Installed: In order to utilize the Remote Site function all linked servers must have this value set to True. This will enable both AMIS and VPIM on the UC server as long as they are licensed on your system Sentinel.