The Web Report feature of Avaya IX Messaging allows you to generate a variety of reports on key areas of the system, such as calls per hour by PBX and company, port usage and mailbox usage. These reports help administrators adjust server load and performance to ensure maximum productivity.
Web reports is limited by the data that is made available, and by what can be built within the user interface in terms of how it is presented (charts, tables, graphs, etc.).
For companies that want tighter control over their reports, a Report Server can be setup that has direct access to the database. More of the data is made available to whatever program you want to use to display the data and generate meaningful output.
•The Report Server must be used in conjunction with a High Availability installation as it uses features and services (e.g. Mobilink) that are not available when using a Single Server.
•The Report Server feature is included with the HA license. No additional purchase is required.
•The Report Server must be housed on a different computer that any used by the system.
•Multiple Report Servers can be installed.
•The Report Server creates a local, continually updated copy of the database on the Consolidated Server.
•Only usage data is available to the Report Server. System operating information (e.g. passwords, usernames, etc.) is not included.
•The Report Server has no user interface of its own to view the data or generate reports. The data is simply made available to whatever software you already use for your reporting needs. Additional work by the administrator will be required to extract and process the data.
The Report Server must have at least the following.
|
Operating System |
Windows Server 2012 / 2016 |
|
CPU |
2 or more CPUs @ 2+ GHz |
|
RAM |
At least 50% of the RAM on the Consolidated Server (min 4 GB) |
|
HDD |
200 GB (100GB for O/S, 100 GB for IX Messaging) |
The Avaya IX Messaging High Availability installation must already be setup and running before adding a Report Server.
A different computer must be connected to the same subnet as the Consolidated Server in order to read the database.
The Windows operating system must be installed, updated and patched.
On the computer that will host the Remote Report Server:
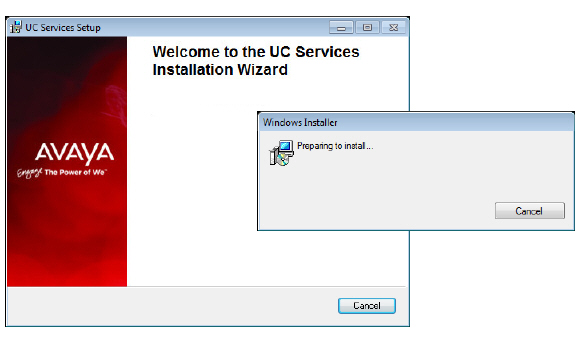
1.Copy the Avaya IX Messaging installation program to this computer. Run Setup.exe as administrator to begin installing.
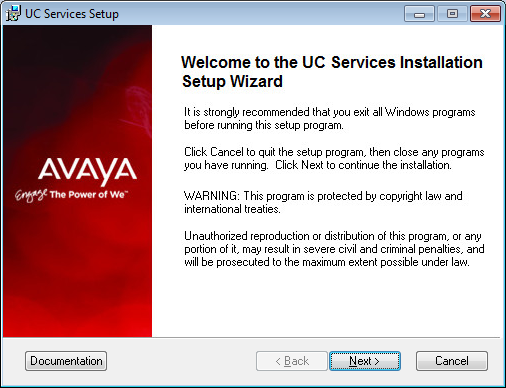
2.Once the Windows components have been verified, click Next to begin the installation.
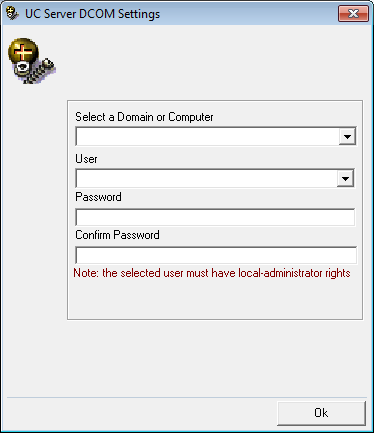
3.Enter the DCOM user info (domain user account which has local administrator rights). This is required by services which use local administrator rights.
Click OK after entering the credentials.
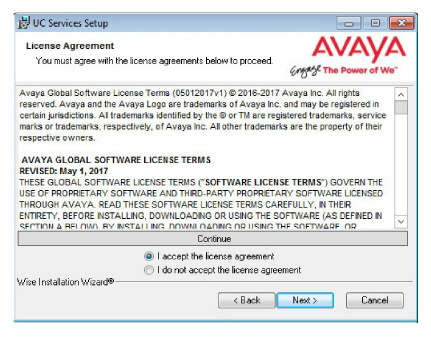
4.Review the EULA and enable I accept the license agreement.
Click Next to continue.
5.You will be asked to select the destination of the installation. You may change the hard drive destination through the drop down menu. By default, the installation will create a UC folder on the C drive.
Click Next to continue.

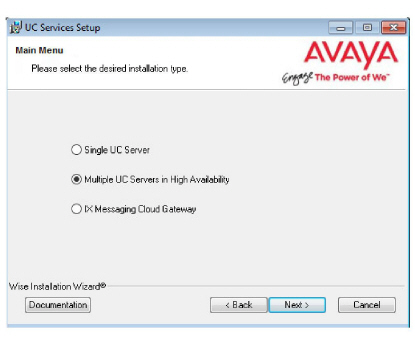
6.Enable Multiple UC Servers in High Availability.
Click Next.
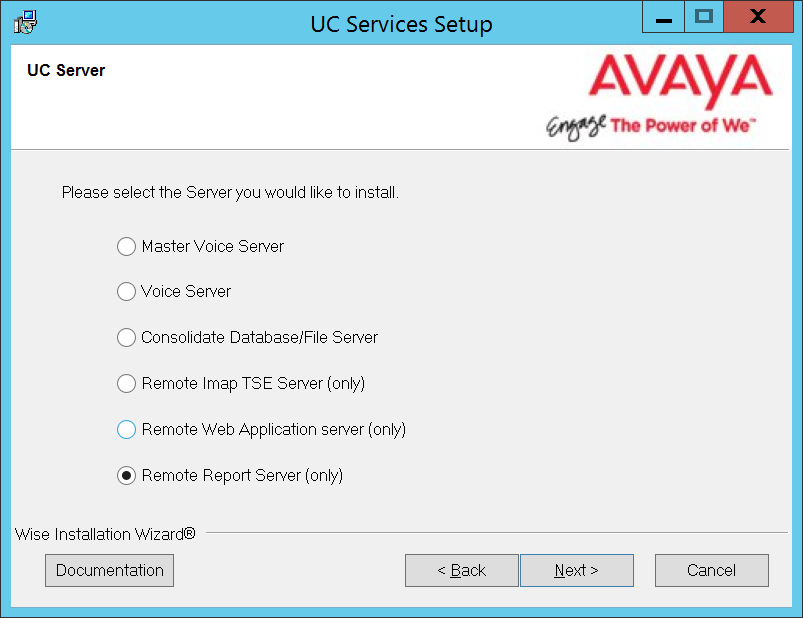
7.Select Remote Report Server (only).
Click Next.
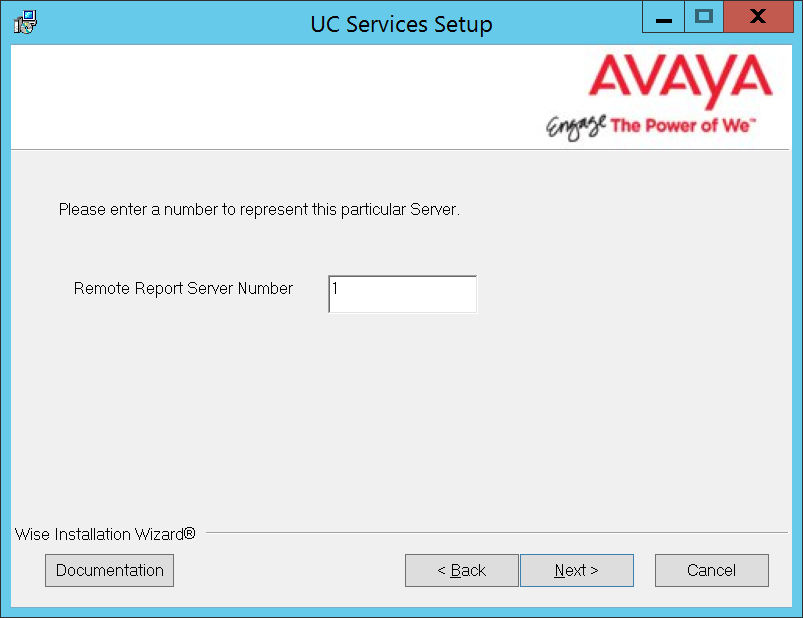
8.Enter a number to identify this Report Server. If you have more than one Report Server, each must be given a unique number.
Click Next.
|
Note: This number is independent of any other server identification numbers (i.e. Secondaries, Remote CSEs). |
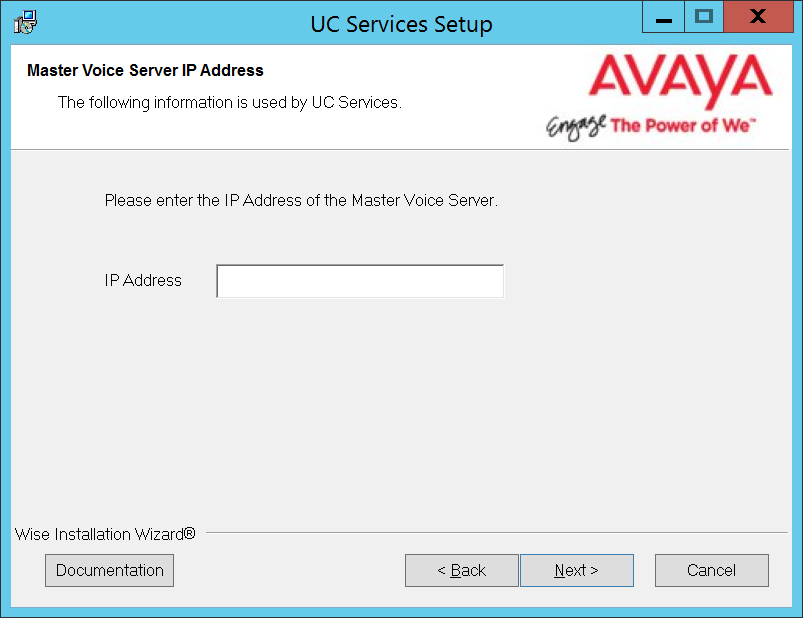
9.Enter the IP Address for the Primary Server.
Click Next.
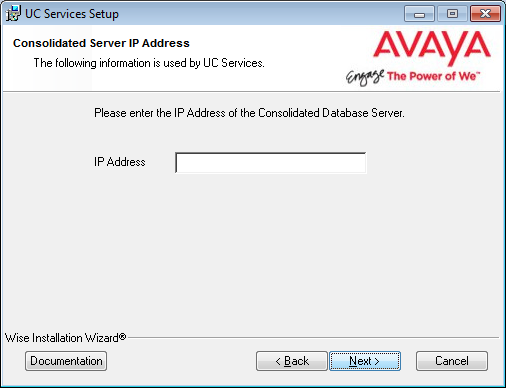
10.Enter the IP Address for the Consolidated Server.
Click Next.
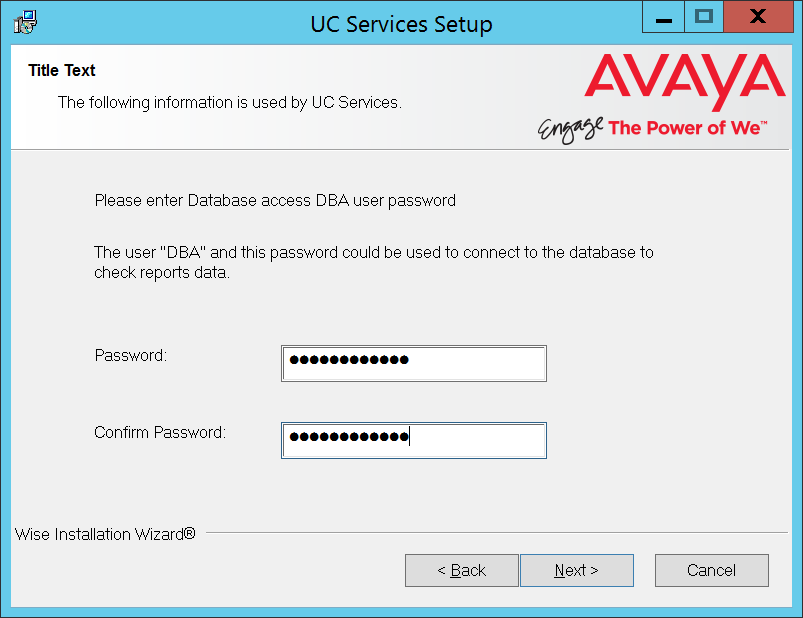
11.Create the Database Access DBA User Password in the space provided. This password will be used by the Report Server to access the database.
Click Next.
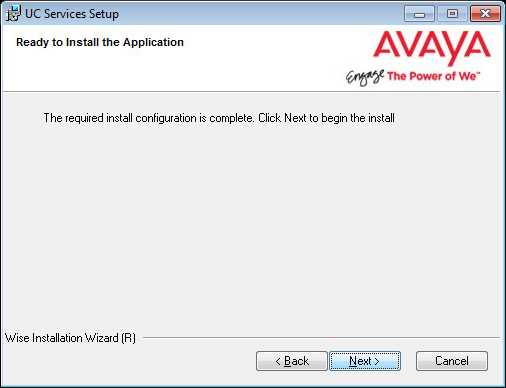
12.The preliminary information required for installation is complete.
Click Next.
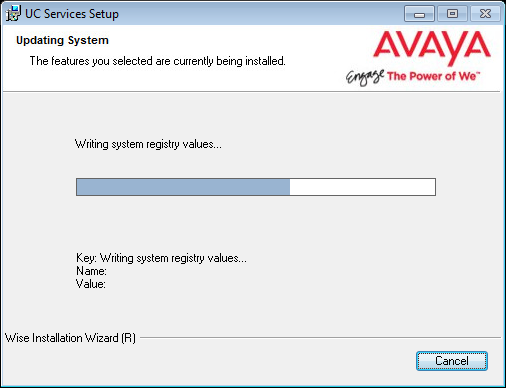
13.The selected components will be installed.
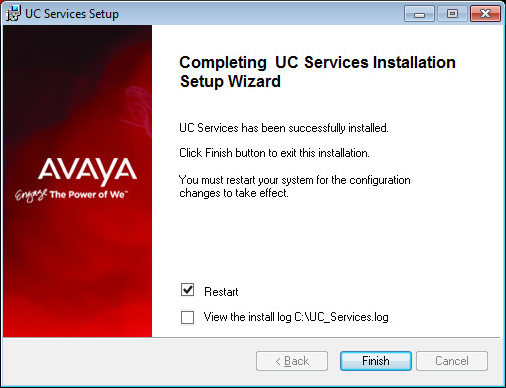
14.The installation of the Report Server is complete.
Click Finish to restart the server.
If you wish to restart your computer at a later time, disable the Restart checkbox then click Finish.
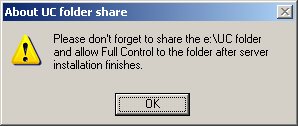
15.This alert is to remind you to properly share the UC installation folder.
Click OK to restart the computer.
The database on the Report Server is only a portion of the full database found on the IX Messaging voice server. It only contains client and system usage data. It does not contain any confidential or system information (i.e. passwords). The Report Server database is continually synchronized with the main database.
On the Report Server, the database is stored in the /UC/DB folder on the installation drive you chose. The database is named EEAM21.db and It is an SQL formatted database. You will need to write scripts to import the information you need into whichever program you are using analyze the data.
Sample JDBC Connection to Retrieve Data
|
Note: The Java Development Kit ( JDK ) must be installed before proceeding with the code sample. |
The following is sample of code using a JDBC connection to access the database.
import java.io.*;
import java.sql.*;
public class JDBCConnect
{
public static void main( String args[] )
{
try
{
String userID = "";
String password = "";
String server = "";
String driver = "jdbc4";
String SQL ="select * from repMailboxActivity";
if( args.length > 0 ) userID = args[0];
if( args.length > 1 ) password = args[1];
if( args.length > 2 ) server = args[2];
if( args.length > 3 ) driver = args[3];
if( args.length > 4 ) SQL = args[4];
Connection con;
if( driver.compareToIgnoreCase( "jdbc4" ) == 0 )
{
con = DriverManager.getConnection(
"jdbc:sqlanywhere:uid=" + userID + ";pwd=" + password + ";servername=" + server);
}
else
{
con = DriverManager.getConnection(
"jdbc:sybase:Tds:localhost:2638", userID, password);
}
Statement stmt = con.createStatement();
ResultSet rs = stmt.executeQuery(SQL);
while( rs != null )
{
while (rs.next())
{
for( int i = 1;
i <= rs.getMetaData().getColumnCount();
i++ )
{
if( i > 1 ) System.out.print(", ");
System.out.print(rs.getString(i));
}
System.out.println();
}
if( stmt.getMoreResults() )
{
System.out.println();
rs = stmt.getResultSet();
}
else
{
rs.close();
rs = null;
}
}
stmt.close();
con.close();
}
catch (SQLException sqe)
{
System.out.println("Unexpected exception : " +
sqe.toString() + ", sqlstate = " +
sqe.getSQLState());
System.exit(1);
}
catch (Exception e)
{
e.printStackTrace();
System.exit(1);
}
System.exit(0);
}
}
Running the Sample Application
1.At a command prompt, change to the %SQLANYSAMP17%\SQLAnywhere\JDBC directory.
2.Set the CLASSPATH environment variable. The SQL Anywhere JDBC driver is contained in sajdbc4.jar.
set classpath=.;%SQLANY17%\java\sajdbc4.jar.
If you are using the jConnect driver instead, then set the CLASSPATH as follows (where jconnect-path is your jConnect installation directory).
set classpath=.;jconnect-path\classes\jconn4.jar
3.Run the following command to compile the example:
javac JDBCConnect.java
4.Run the following command to execute the example:
java JDBCConnect DBA "!Password"
A default SQL query is executed.
If the attempt to connect fails, an error message appears instead. Confirm that you have executed all the steps as required. Check that your CLASSPATH is correct. An incorrect setting may result in a failure to locate a class.
5.Optional. Include SQL queries on the command line:
java JDBCConnect DBA "!Password" jdbc4 "SELECT * FROM Customers"