Many users of Messaging may opt to upgrade their hardware while upgrading the software. Unlike a simple upgrade, a migration also involves moving the Messaging server to a different computer in addition to updating the software. To support these customers, a database migration tool is included with the Messaging installation package.
|
Regardless of what version of Avaya IX Messaging you are starting from, the migration procedure is largely the same. Extra steps specific to a certain version are added where indicated. |
|
Single Server (SS) |
|
Current version 9.x and later (SS) updating to 10.8 (SS) |
|
High Availability (HA) |
|
Current version 9.x and later (HA) updating to 10.8 (HA) |
|
Current version 9.x and later (SS) updating to 10.8 (HA) |
|
Warning: The database update and migration process may take a long time to complete (up to several hours) depending upon the size of the database. Please ensure that you allocate enough time for this procedure. |
|
Requirements |
Details |
|---|---|
|
License |
--- |
|
Software |
Existing Officelinx 9.x and later system with proper database |
|
Operating System |
Windows Server 2012 Windows Server 2016 |
It is strongly recommended that you back up certain files from the \UC folder on the old system before starting the migration. The following folders should be backed up to a safe location:
•C:\UC\DB
•C:\UC\Messages
•C:\UC\Prompts
|
Note: Check the Internet Information Services (IIS) on your PC to ensure that the FTP Server is installed and running. |
|
Note: Close all Server-related programs (i.e. IXM Admin, UM Monitor). |
Before migrating the data from the old server, Messaging must be installed on the new server(s). For more information on installing Messaging, consult the appropriate chapters in this guide.
•Windows Server 2012 on here.
•Windows Server 2016 on here.
•High Availability on here.
Once all of the preparations have been made, proceed with the migration of the data files to the new Avaya IX Messaging 10.8 server.
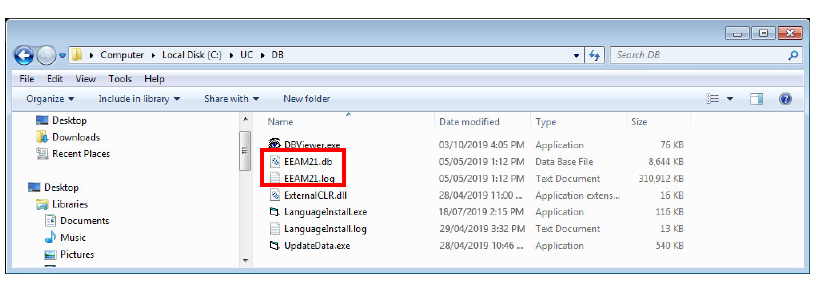
1.On the new server, stop all Messaging services, then delete the EEAM21.db and EEAM21.log files found in the UC\DB folder.
Also delete any transaction log files in this directory. Transaction logs have a name similar to 140504AA.log.
2.Copy the DB file and LOG file from the \UC\DB\ folder of the old server to the same folder on the 10.8 system.
To keep the same Company Salutation, Personal Prompts or Messages from the old system, copy those files to the appropriate folders on the new system.
On the old server, Messages will be stored in \UC\Messages, Greetings will be stored in UC\Prompts\Personal\, and Company Salutations are stored in the UC\Prompts\Company folders.
Messages should be copied to the new 10.8 system’s Messages folder (\uc\messages\), personal prompts to the prompts folder (\uc\prompts\) and so on.
|
Note: For Company Salutations, the name of the file must be unique since the new 10.8 system already has existing salutations. If there is a conflict between file names, you must rename/renumber the previous system’s files before copying them into the 10.8 folders. Please keep in mind that changing the file names may cause your old DB to use incorrect salutations. You must manually change the salutations from the Admin Console after migration to resolve the issue. |
3.Copy a DSNConn.cfg file from a \UC\DBbackup\X folder, where X is the number of the day of the week the backup was taken. Copy the file from any one of these folders and paste it into the \UC\DB\ folder on the new server.
4.From the original installation files, copy the Migration_Utility.exe file to the \UC\DB\ folder on the new server.
|
Note: In an HA environment, the server migrated using this utility will become the Primary server on the new HA system. The Consolidated and Secondary servers must all be fresh installs; no migration is required. |
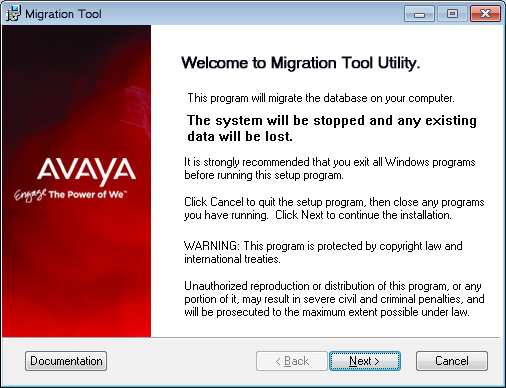
5.Run (double-click) the application that you have just copied. The Migration Utility Wizard will start.
Click Next to continue.
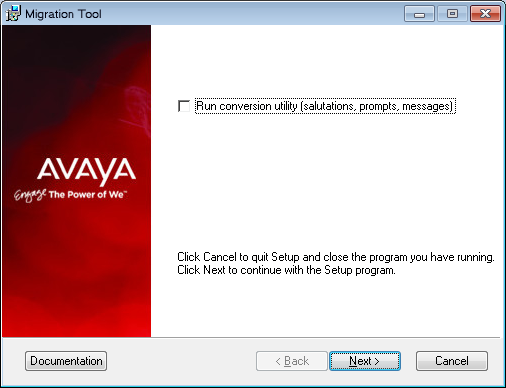
6.Ensure that the Run conversion utility... checkbox is disabled.
Click Next.
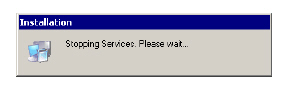
7.The application will stop the necessary services before proceeding.
8.Your database will first be unloaded to prepare for the migration. This process may take a while depending on the size of your database. Please be patient.
9.Once the unload process is complete, the application will migrate the database. This process may take a while depending on the size of your database. Please be patient.
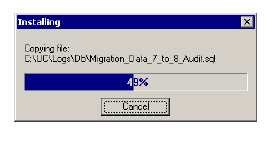
10.Files will be moved and replaced accordingly.
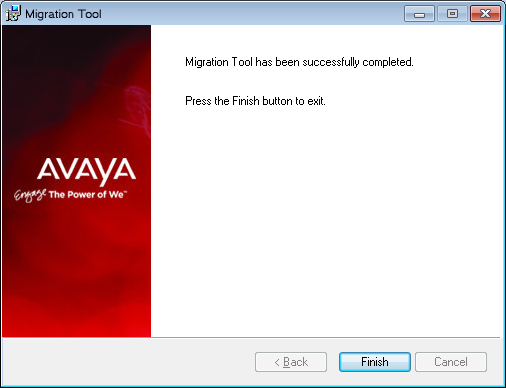
11.You will see this screen when the process has completed.
Click Finish to exit the Migration Wizard.
12.When prompted, click OK to restart your computer.
The old database is now ready to be used with the new 10.8 system.