Dedicated CSE Server Installation
Due to a physical limitations on the server for the number of users who utilize the UC function, you must install additional dedicated CSE servers in order to increase the limit of UC users. The dedicated CSE server will handle CSE related jobs relieving the voice server of these tasks. In order to add a dedicated CSE server to your system please follow the instructions in this document accurately.
|
Requirements |
Details |
|---|---|
|
License |
--- |
|
Software |
Existing Avaya IX Messaging system to integrate with. |
Dedicated CSE Server Installation
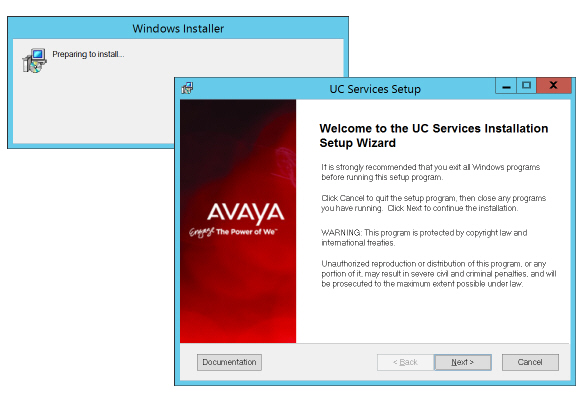
1.On the computer designated as the Remote CSE Server, open the Avaya IX Messaging folder on your server hard drive and run Setup.exe to launch the installer.
When prompted, click Next.
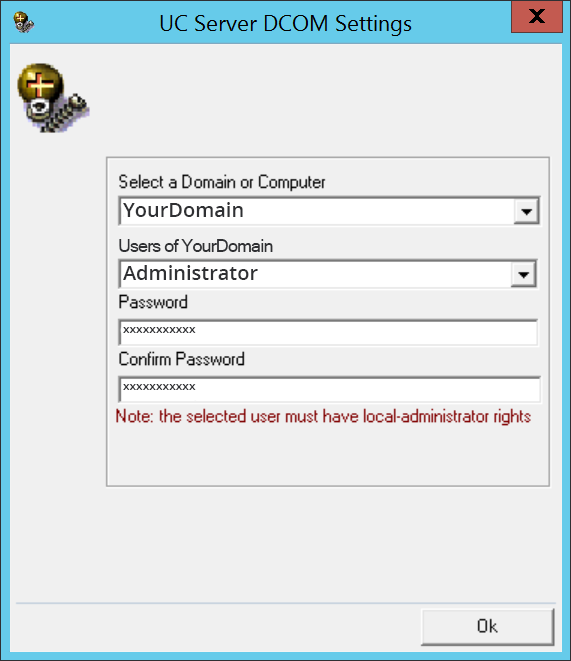
2.Enter the DCOM user info (domain user account which has local administrator rights). This is required by services which use local administrator rights.
Click OK after entering the credentials.
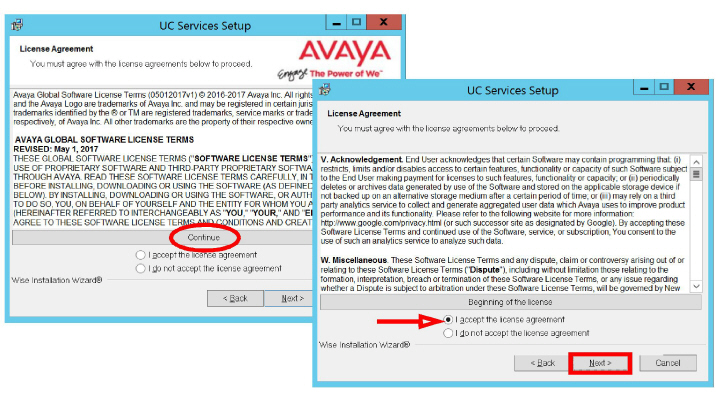
3.Review the license agreement. Click Continue, enable the I accept the license agreement checkbox, then click Next.
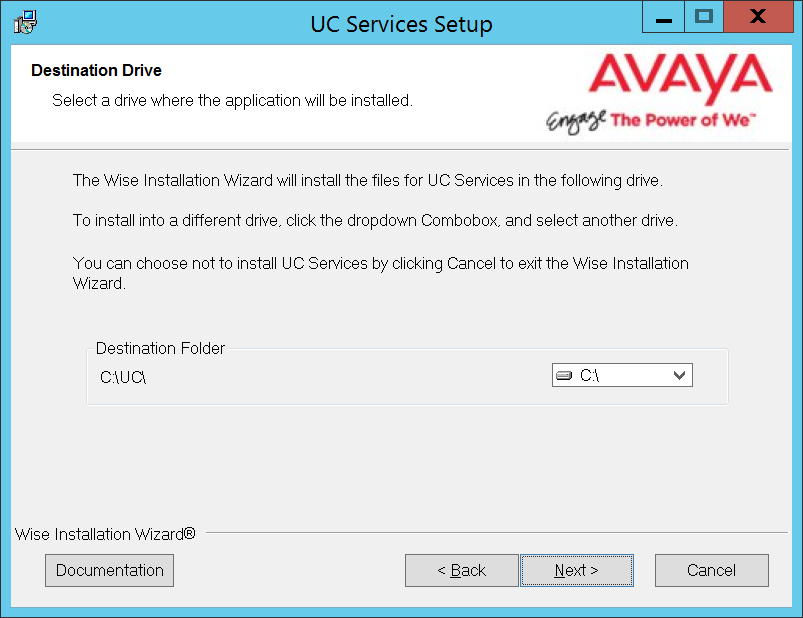
4.You will be asked to select the destination directory for the installation. You may change the hard drive destination through the drop down menu. By default, the installation will create a UC folder on the C drive.
Click Next to continue.
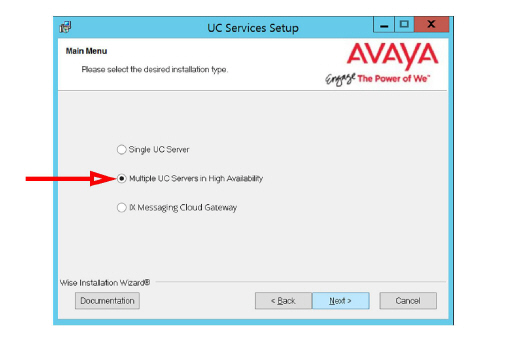
5.Enable Multiple UC Servers in High Availability.
Click Next.
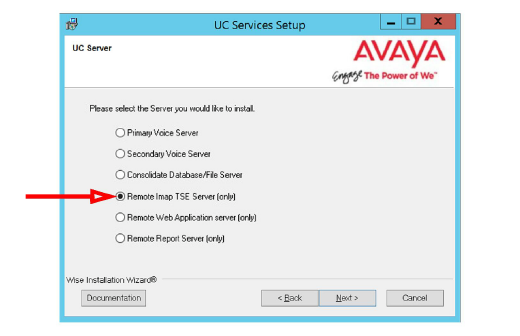
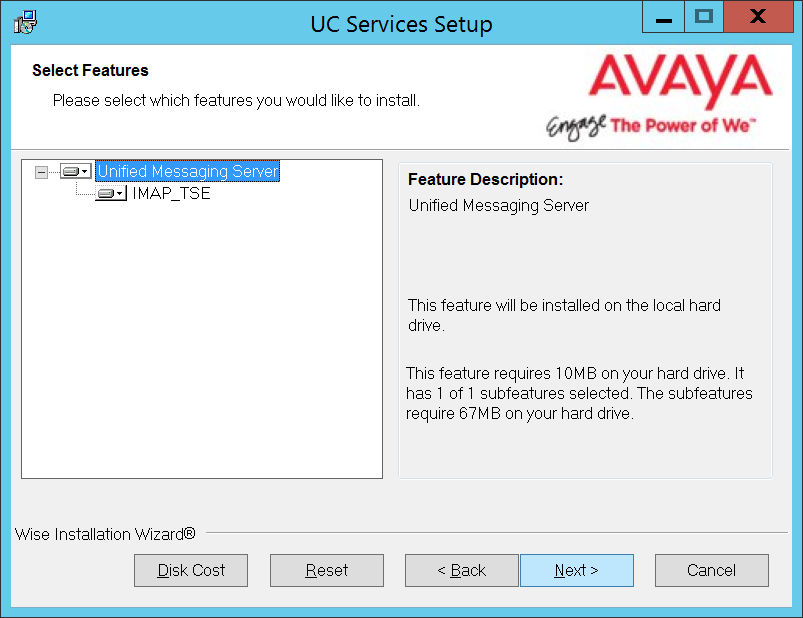
6.Select Remote CSE Server (only)
(formerly the Imap TSE server).
Click Next.
7.Enter a number between 1-25 for this server.
If you configure multiple CSE servers, each must be given a unique number; no two servers can share the same number.
Avaya IX Messaging supports up to 4 CSE servers.
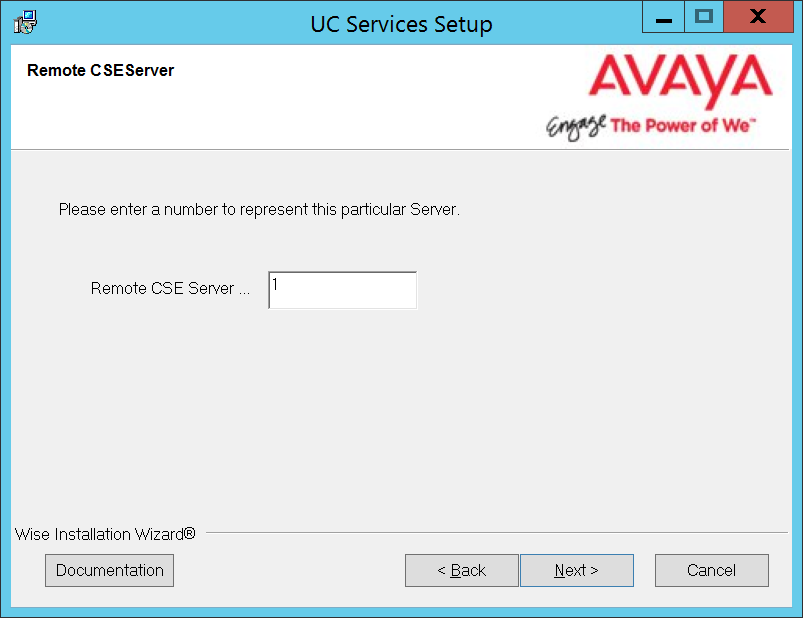
Click Next.
|
Note: Each CSE server can support up to 5000 users. |
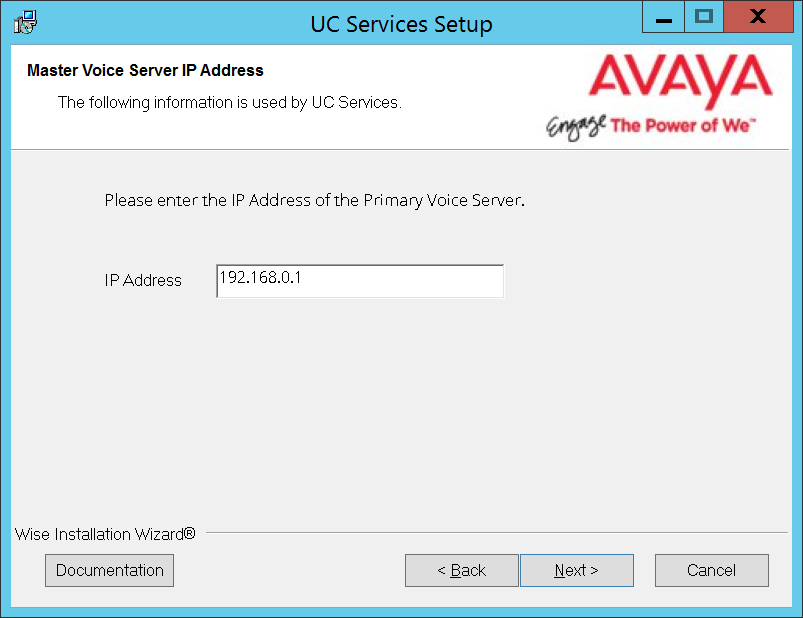
8.Enter the IP Address of the Primary server.
Click Next.
9.Select the Components required at your site. Disable any components that are not needed.
Click Next.
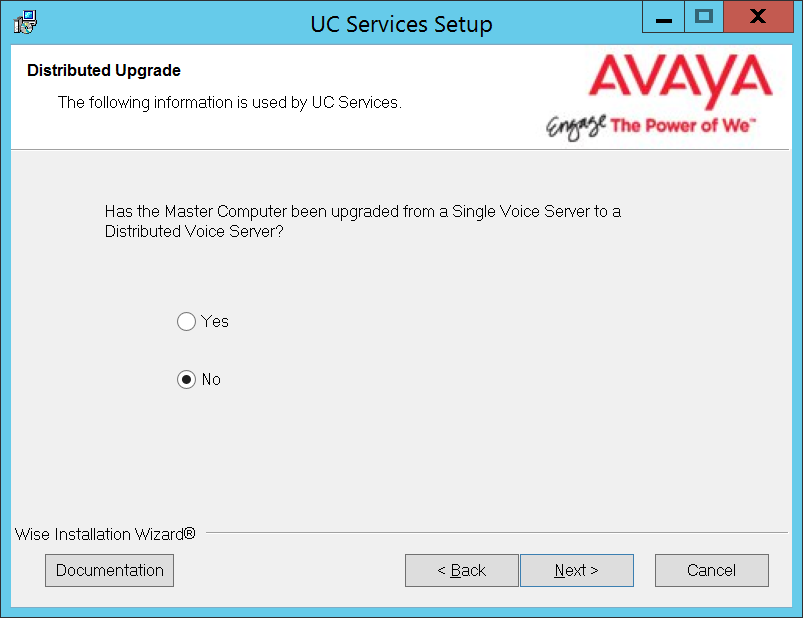
10.Unless the Primary Server has been upgraded from a Single Server configuration, choose No.
Click Next.
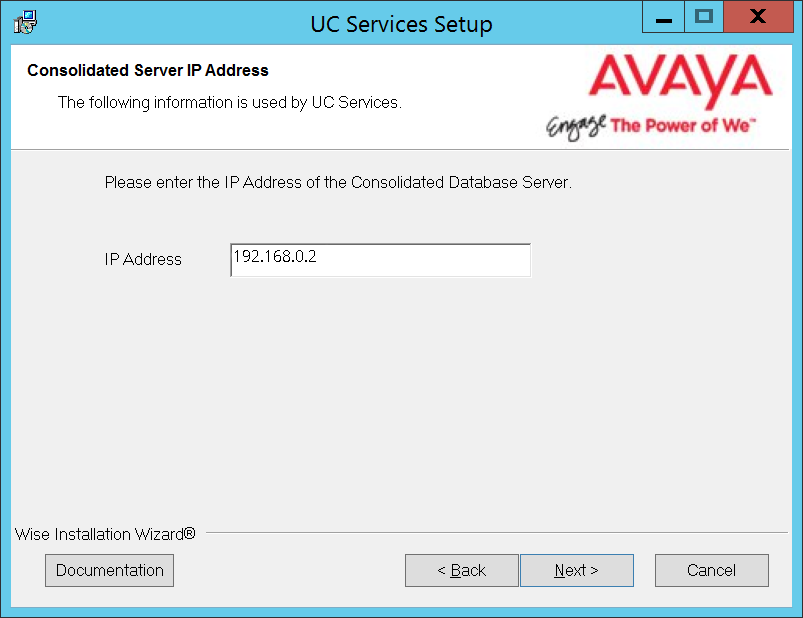
11.Enter the IP Address for the Consolidated server.
Click Next.
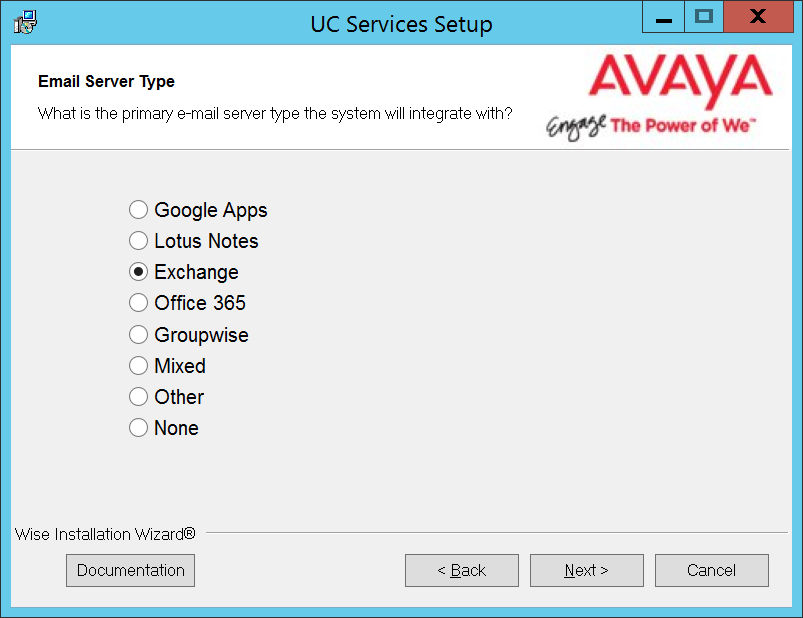
12.Select the Email Server Type from the list of available options. This allows the system to set basic parameters which help to improve performance and reliability.
When ready, click Next.
|
Note: Each Remote CSE Server supports a single email type (e.g. Exchange, Office 365, Gmail, etc.). If more than one email type is required, the Consolidated Server cannot be used for synchonization. |
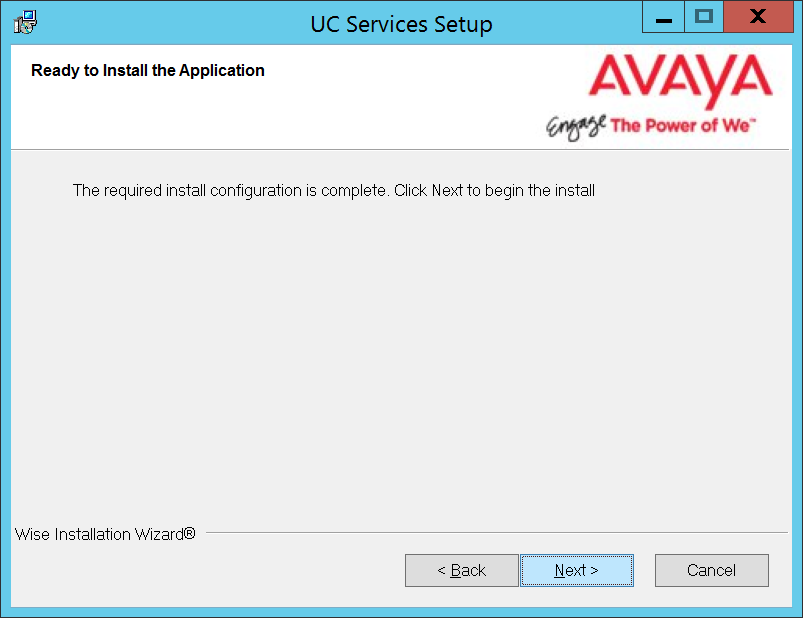
13.The preliminary information required for installation is now complete.
Click Next.
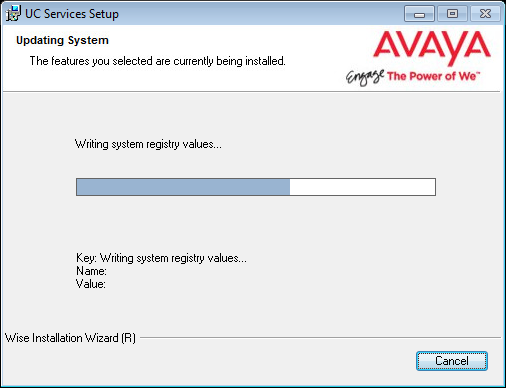
14.The selected components will now be installed. This process may take a while.
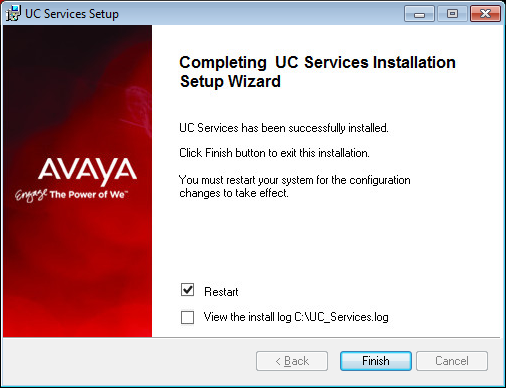
15.Click Finish to restart the server.
If you wish to restart your computer at a later time, disable the Restart check box, then click Finish.
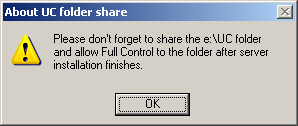
16.This alert is to remind you to properly share the UC installation folder.
Click OK to restart the computer
(see here for details).
The Remote CSE server installation is complete.
Configuration For Remote CSE server installations
Once you have finished configuring the dedicated CSE server, you must configure your voice server to finalize the changes.
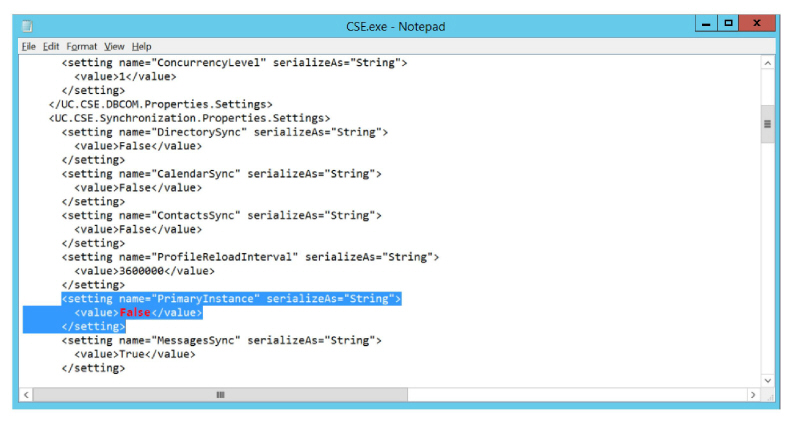
1.On the Consolidated and the Remote CSE servers, locate the CSE.EXE config file in the UC/UCCSE folder. Edit the file using Notepad or similar text editor.
Locate the entry for <setting name=”Primary Instance”>. Ensure that the value is False. Change the value if necessary, then Save the file.
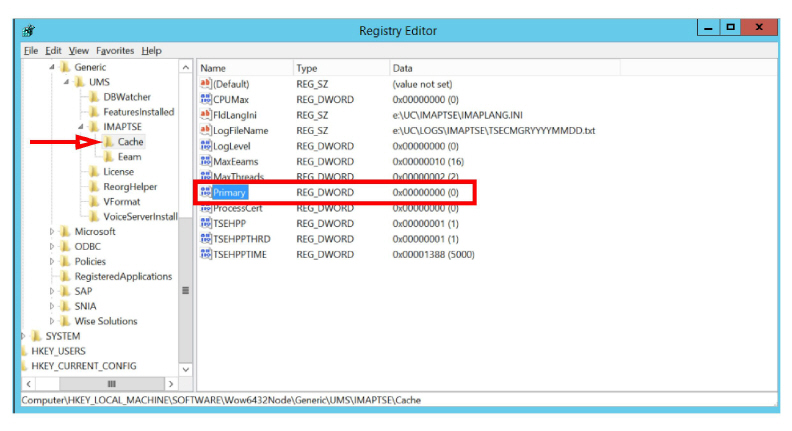
2.On both of the Consolidated and the Remote CSE servers, open the Registry.
Right-click the Start menu, select Run and enter regedit in the space provided. Click OK.
On 64-bit operating systems, scroll down to Computer\HKEY_LOCAL_MACHINE\SOFTWARE\Wow6432Node\Generic\UMS\IMAPTSE\Cache.
On 32-bit operating systems, scroll down to Computer\HKEY_LOCAL_MACHINE\SOFTWARE\Generic\UMS\IMAPTSE\Cache.
Verify that the value for Primary is 0.
3.Restart the server to complete the configuration changes.
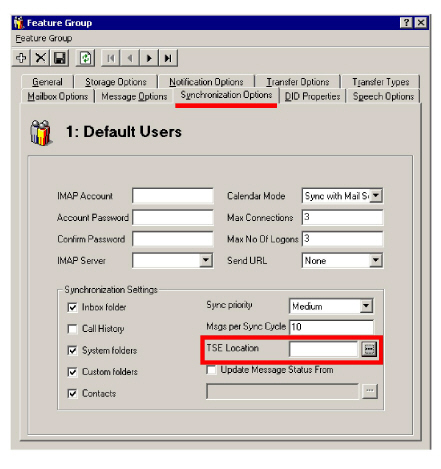
4.Open a Feature Group in the IXM Admin program. On the Synchronization Options tab, in the TSE Location text field, type in the computer name of the Remote CSE or the Consolidated servers.
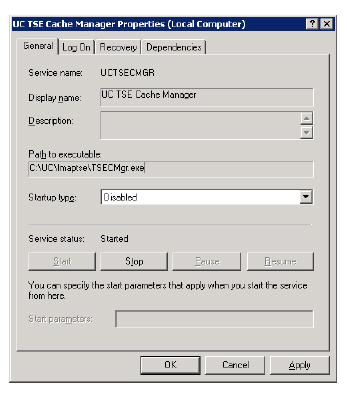
5.From Control Panel > Administrative Tools > Services make sure that the UC TSE Cache Manager service on the voice server is set to Disabled. If this service is running on the voice server, it will interrupt the dedicated CSE server.