By installing a language onto an existing Messaging system, you will be able to address the needs of specific regions and audiences. This transforms the Messaging suite into a full fledged localization solution for organizations dealing with audiences with multiple language requirements.
One language (English) is included with the program installation package.
The following table lists the languages available.
|
English |
English TTY |
German |
Spanish |
|
English UK |
French |
Italian |
Spanish EU |
|
|
French EU |
Portuguese BR |
|
This table shows the languages available for use with the Text-to-Speech Engine (TTS), and Automatic Speech Recognition (ASR).
|
Language |
Regional Variation (if any) |
|---|---|
|
English |
(program default) |
|
English AU |
Australia |
|
English UK |
United Kingdom |
|
French |
North America |
|
French EU |
Europe |
|
German |
|
|
Italian |
|
|
Portuguese BR |
Brazil |
|
Spanish |
Americas |
|
Spanish EU |
Europe |
It is suggested that the User back up certain files in the C:\UC folder on the system before beginning the upgrade.
The following files need to be backed up:
•C:\UC\DB
•C:\UC\Messages
•C:\UC\Prompts
|
Note: Take care to refer to Internet Information Services (IIS) on your PC and ensure that the FTP server is installed and running. Close all Server-related programs (i.e. UM Admin, UM Monitor). |
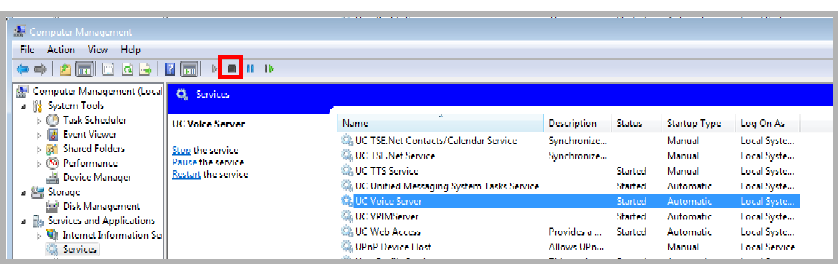
Before you begin the installation, ensure that all necessary services have been stopped.
1.To stop services, open Control Panel > Administrative Tools > Services. Double-click the Services icon.
2.Highlight the UC Voice Server service and click the Stop icon in the toolbar.
3.Continue with the installation.
Standard English is included on the Avaya IX Messaging installation package. All other languages are available for download from Avaya Inc. Contact your reseller for more details.
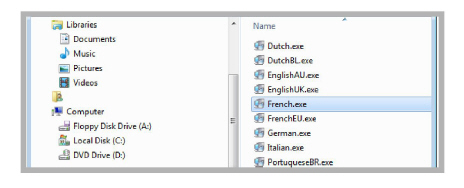
The downloaded files are in executable (EXE) format, and there is a single file for each available language. Download the file to a local drive and double-click to install the chosen language onto the voice server.
|
Note: Once installed on the server, the language must be selected through IXM Admin before it will be available. |
|
Note: The Messaging program must already be installed on the voice server before the language packs can be applied. |
1.Download the language exe file and save it on the voice server drive.
2.Double-click the file to launch the installation routine.
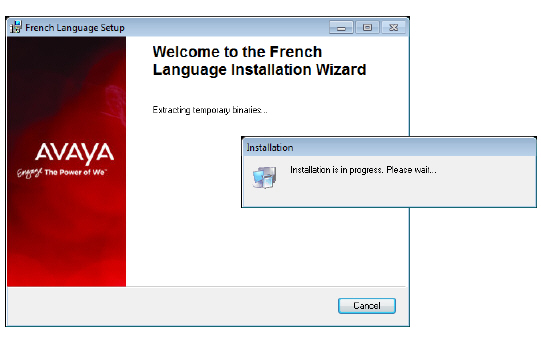
3.The program will begin preparing to install the language pack.
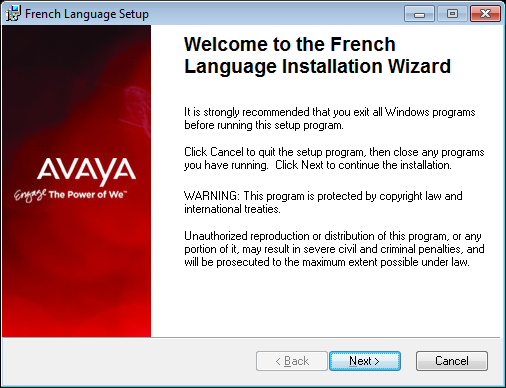
4.At the Welcome screen, click Next to continue.
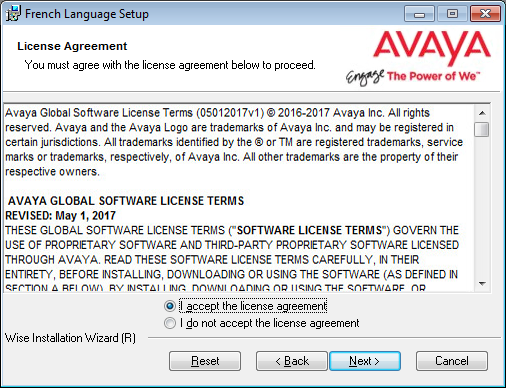
5.When prompted with the End User License Agreement, enable
I accept the license agreement.
Click Next to continue.
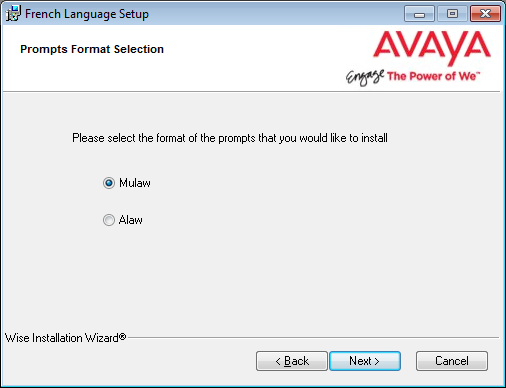
6.Select the appropriate format for voice prompts (Mulaw or Alaw).
Click Next.
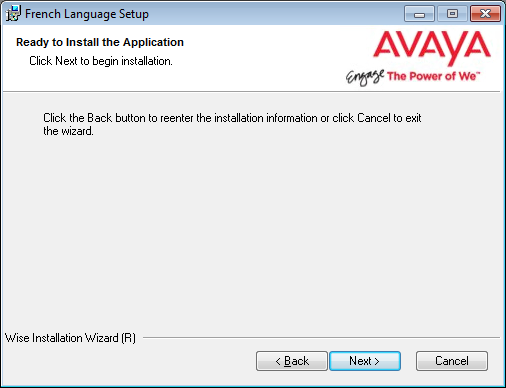
7.The wizard is ready to install the language pack.
Click Next to begin the installation.
8.If you have not stopped all the necessary services, you will be prompted to do so at this point.
Stop the services then click OK to continue.

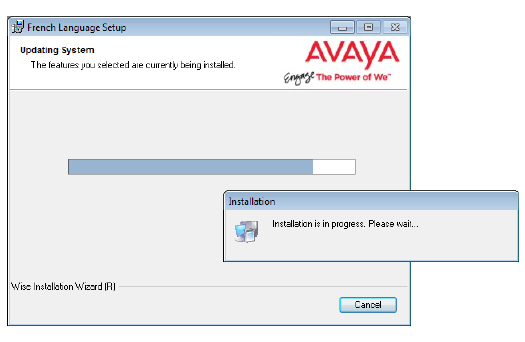
9.Installation will begin and all of the components for the selected language will be copied to the server.
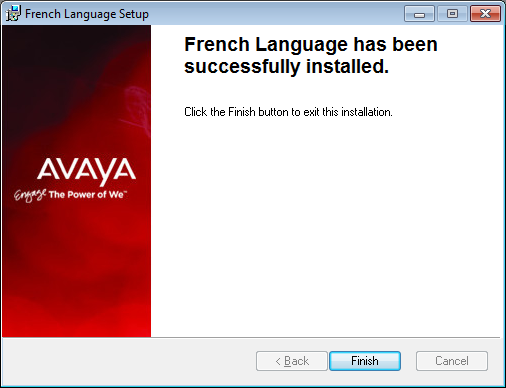
10.You will be notified when the installation is complete.
Click Finish.
11.When prompted, click OK to restart the server.
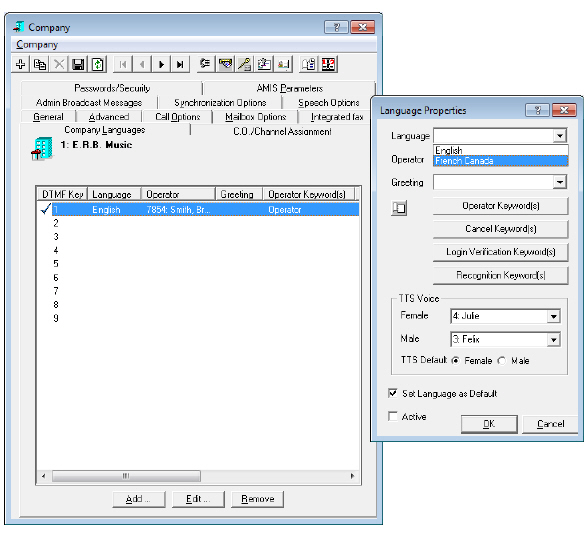
12.After the server has finished rebooting, confirm that the language pack has been installed properly.
Open the IXM Admin > Company Properties > Company Languages tab.
Add: Use this button to add more languages to the voice server. Once the new language installation is complete, they will appear in the list here. Changing the default will play all company telephone greetings and prompts in the equivalent in the new language.
Edit: Select an existing language and click Edit to change the settings for the chosen language.
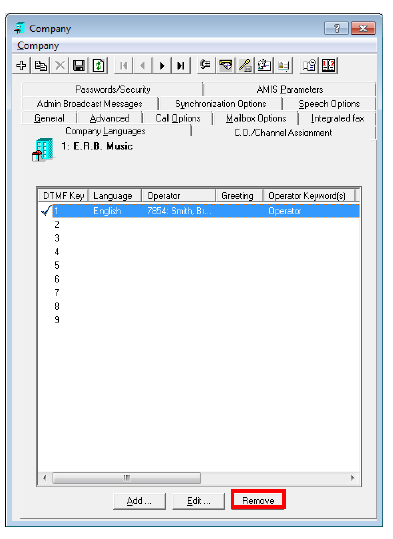
Remove: This option will delete languages from the selection list. It does not delete the language files from the server; they can be added again later using the Add button.
Set Language as Default: Enable this option to set the current language as the first one that callers will hear when connecting to the system.
Active: When multiple languages are installed on a system, the first thing a caller will hear is a menu asking them to select the language they wish to hear. Put a checkmark in the box to add this language to the menu.
|
Note: Each language has its own TTS Voices included with the install. It is recommended that the appropriate voices be used with each language. |
Deleting Languages from the Server
1.To remove the language pack and files from the voice server, begin by Removing the language from the system in IXM Admin.
2.Open Program and Features from the Windows Control Panel.
3.Scroll down to locate the entries for Real Speak. Remove the TTS Voice characters for the language you want to remove from the system.
4.Delete the Nuance Recognizer entry for the language you want to remove.
The server must be restarted after the files have been removed.
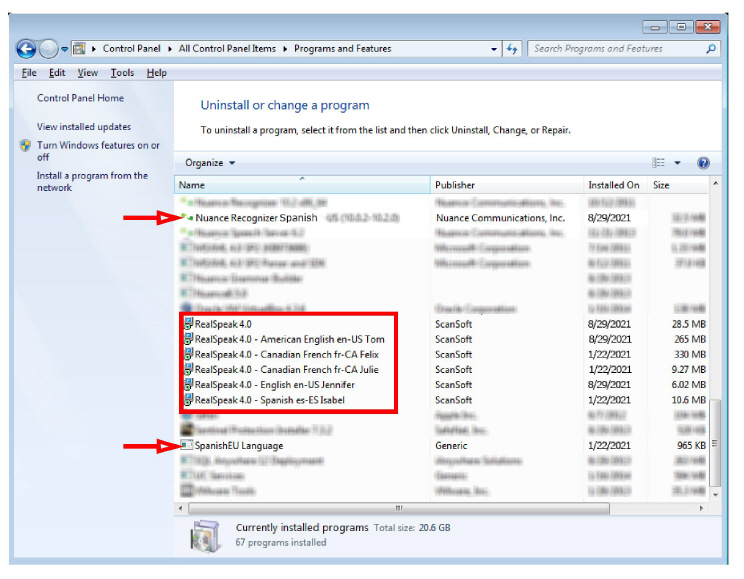
5.After the server has rebooted, delete the language file from the Programs and Features window.