Upgrading an Avaya Messaging High Availability Installation
Upgrading an Existing HA Installation
Use this section to upgrade an earlier HA version to Avaya Messaging 11.0 HA. Please make sure that your license has also been properly upgraded.
|
Note: Click here to learn about updating from a non-HA installation to full HA. |
It is vital that the operator login to the voice server(s) being upgraded using the same username and domain / local administrator credentials that were provided during the initial program installation (DCOM settings). If different credentials are used, the database may become corrupted and it will be unrecoverable.
(See Backup on page 562 to safeguard your files before proceeding with any upgrade.)
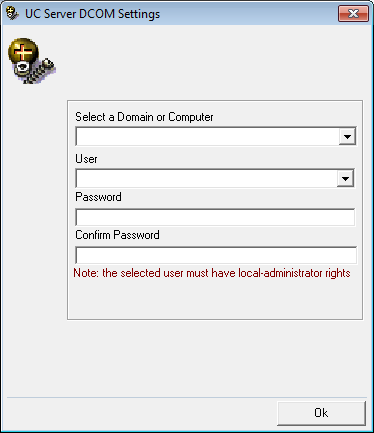
During the upgrade procedure, when prompted for the DCOM settings, enter the same credentials that were used in the initial installation.
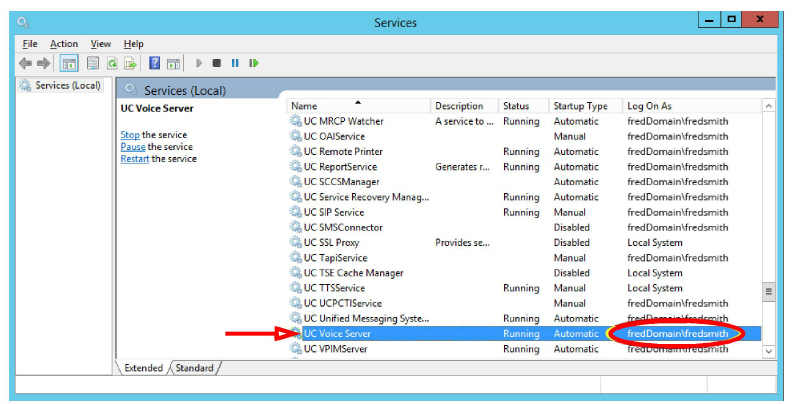
To determine which account was used, review Windows Services to see which credentials (“Log On as”) are attached to the UC Voice Server service.
The upgrade program can be downloaded from support.avaya.com or through your normal PLDS channel.
The downloaded file is a compressed zip formatted document ![]() . Once it has finished downloading, double-click the zip file to unpack the contents to your computer.
. Once it has finished downloading, double-click the zip file to unpack the contents to your computer.
Double-click the executable file (exe) to launch the installer.
Stopping and Disabling Services
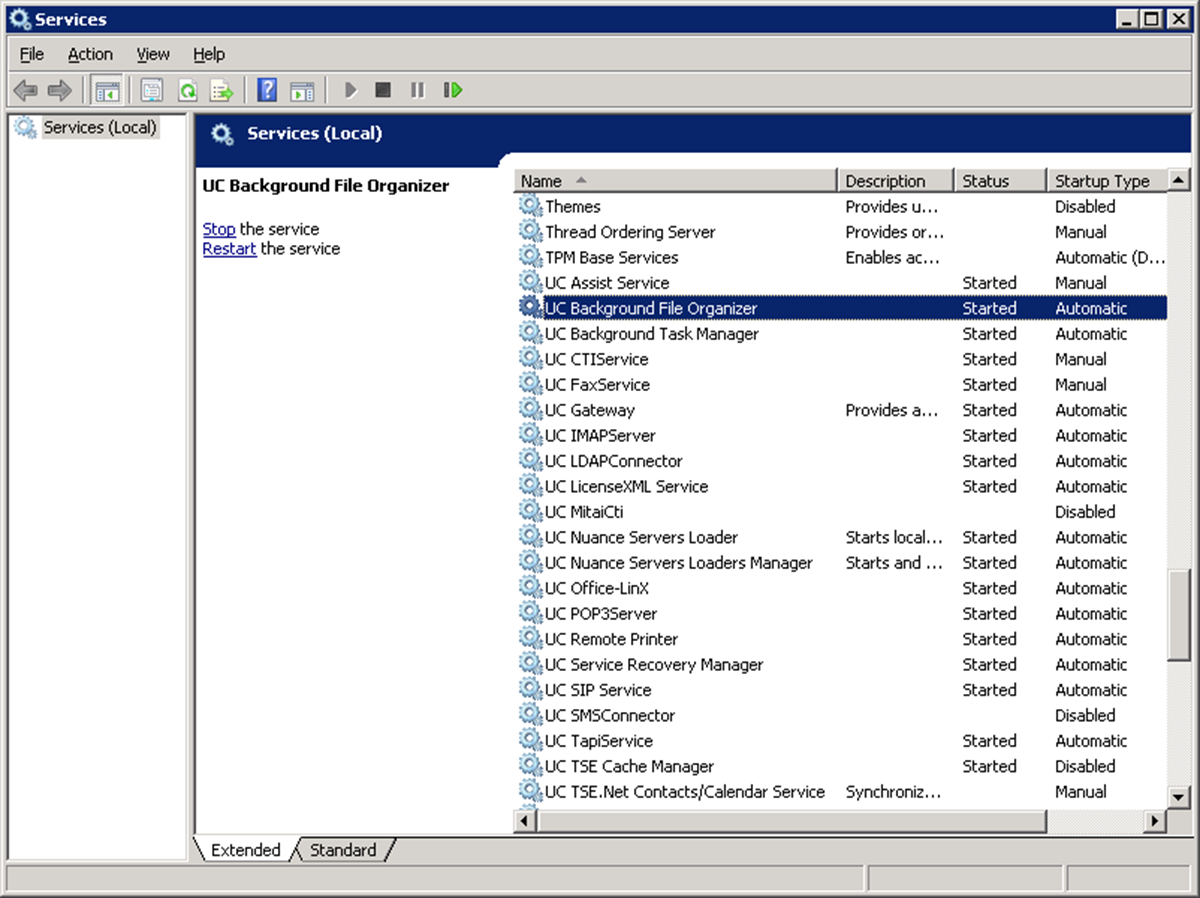
1.To stop the Services, click on Start > Settings > Control Panel > Administrative Tools > Services. Double-click Services. The Services screen appears:
2.Double-click the service to be stopped (see here for a list). The Service Properties screen appears.
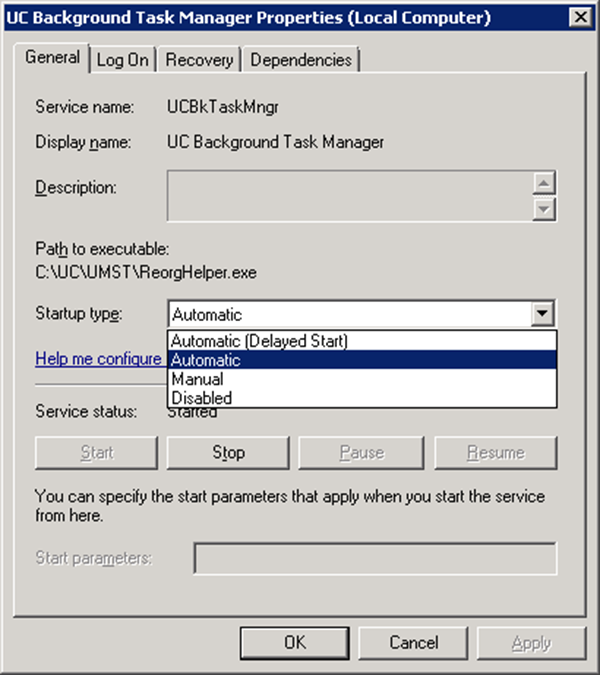
3.Click the Stop button to halt the service.
4.From the Startup type dropdown list, select Disabled.
5.Click OK.
Upgrade Procedure for High Availability
|
Hint: For safety, copy the DB, Messages and Prompts folders from the UC directory to the computer desktop. Record the Startup Type of all services (Manual or Automatic) before proceeding so you can properly reset them afterwards. |
|
Important: Ensure that the correct server (Primary, Consolidated, Secondary, Secondary Consolidated) is being used at all times. |
|
Warning: It is vital to wait until the servers and databases have completely synchronized before continuing to the next step. This applies to the following steps: 3, 11, 28, and 30. |
|
Note: The Secondary Consolidated server is optional. If it has been installed, the SQL Anywhere-MobiLinkListener service will also be installed. |
1.On the Consolidated server, stop and disable the UC Service Recovery Manager service.
2.On the Primary server, stop and disable these services: UC Voice Server, UC Background Task Manager, UC Background File Organizer, DBWatcher. Stop UC SIP Service and UC BTFaxServer.
3.Wait 2-5 minutes until all syncs are successful (in Mobiclient.log verify “Completed processing of download stream”).
4.On the Primary, stop and disable SQL Anywhere-MobiLink Remote and SQL Anywhere-MobiLinkListener.
5.Backup the database on the Primary server.
6.Gracefully stop and then start SQL Anywhere-ASADB_UC (database) on the Primary server.
7.Upgrade the Primary server to the current release / SU / SP of Avaya Messaging (see here).
8.Check that the SQL Anywhere-MobiLink Remote and SQL Anywhere-MobiLinkListener services are still disabled then restart the Primary server.
9.Once the Primary server has rebooted, start the UC Voice Server service and check that the Primary accepts calls.
10.On all Secondaries, stop and disable these services: UC Voice Server, UC Background Task Manager, UC Background File Organizer, DBWatcher. Stop UC SIP Service and UC BTFaxServer.
11.Wait 2-5 minutes until all syncs are successful (in Mobiclient.log verify “Completed processing of download stream”).
12.Stop and disable SQL Anywhere-MobiLink Remote and SQL Anywhere-MobiLinkListener on all Secondaries.
13.On all Remote CSE, stop and disable the UC Content Synchronization Engine, UC CSE PIM Synchronization Engine services. On both the Remote CSE and Remote Web servers, stop and disable the UC Background Task Manager, UC Background File Organizer and DBWatcher services.
14.Wait 2-5 minutes until all syncs are successful (in Mobiclient.log verify “Completed processing of download stream”).
15.Stop and disable SQL Anywhere-MobiLink Remote and SQL Anywhere-MobiLinkListener on all Remote CSE and Remote Web servers.
16.On the Secondary Consolidated stop and disable DBWatcher, UC Background Task Manager, SQL Anywhere-MobilinkRemote, and Mobilink-Consolidated services.
17.On the Remote Admin servers, close all remote admin connections.
18.On the Consolidated, stop and disable these services: DBWatcher, MobliLink_Consolidated, UC Unified Messaging System Tasks Service, UC Background Task Manager, UC VPIM Server.
19.Backup the database on the Consolidated server.
20.Gracefully stop and then start the SQL Anywhere-ASADB_UC (database) service on the Consolidated.
21.Upgrade the Consolidated server to the current release / SU / SP of Avaya Messaging (see here).
22.On all Secondary, Remote CSE and Remote Web servers, backup the database.
23.Gracefully stop and restart SQL Anywhere-ASADB_UC on all Secondary, Remote CSE and Remote Web servers.
24.Upgrade all Secondary, Remote CSE and Remote Web servers to the current SU / SP of Avaya Messaging (see here).
25.If present, run the update on all Report Servers (see here). It is not necessary to stop any services on this server.
26.After the upgrade to the Consolidated server has completed, confirm that the UC Service Recovery Manager service is disabled and restart the server.
27.On both the Consolidated and the Primary servers, stop and disable DBWatcher. Then start
Mobilink - Consolidated on the Consolidated server, and SQL Anywhere - MobilinkRemote on the Primary.
28.Wait until the Primary has synchronized with the Consolidated server (in the Mobiclient.log file, verify “Completed processing of download stream”).
29.Restart one-by-one all Secondary, Remote CSE and Remote Web servers after the upgrade is complete. Stop and disable DBWatcher and start the SQL Anywhere - MobilinkRemote services.
30.Wait until all Secondary, Remote CSE and Remote Web servers have synchronized with the Consolidated server.
31.On the Consolidated, Primary, and all Secondaries start all UC Services except UC Service Recovery Manager.
32.Upgrade the Secondary Consolidated server.
33.Enable and start UC Service Recovery Manager services on the Consolidated server.
34.Return all services to their original Startup Type and restart.
35.Upgrade all Remote Admin servers to the current release / SU / SP of Avaya Messaging (see here).
36.Ensure that the SQL Anywhere - MobiLinkListener service is started and running on the Primary and all Secondary Voice servers. It is not restarted automatically.
1.Run the update program. The following screen appears.
Click Next.
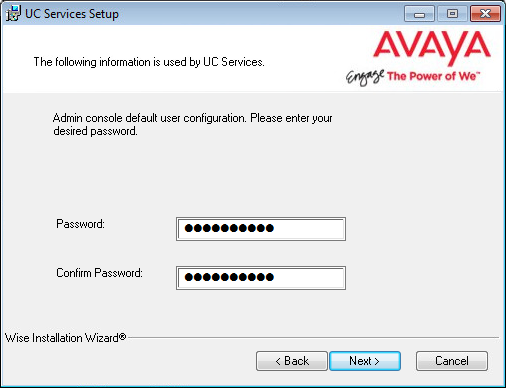
2.If the installer determines that the administrator password is not sufficiently secure (e.g. 1111), this screen will appear requiring it to be changed.
3.Enter the primary location from which most telephone calls will be placed. This will normally be where the corporate office is situated. Additional dialing locations and rules may be defined after the installation is complete.
Select the country from the dropdown menu, and enter the area code in the space provided.
Click Next to continue.
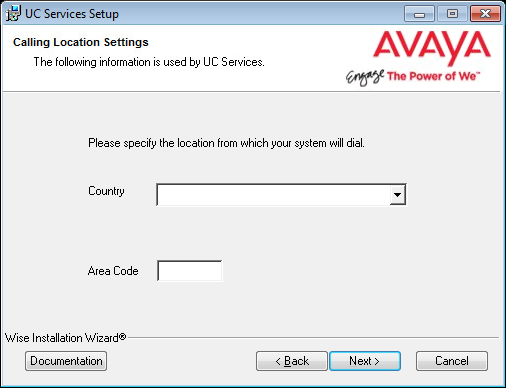
|
Note: If the Phone and Modem Settings under Windows Control Panel have already been configured, this step will not appear. The values entered there will be used automatically. |
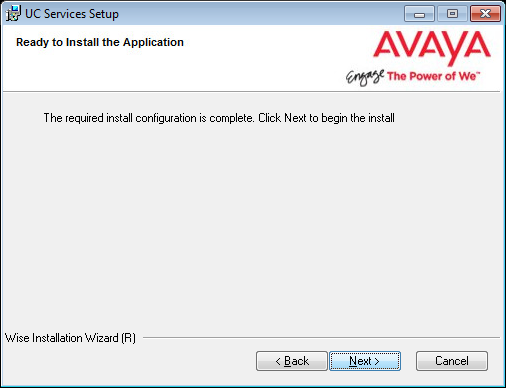
4.The preliminary information required for installation is now complete.
Click Next.
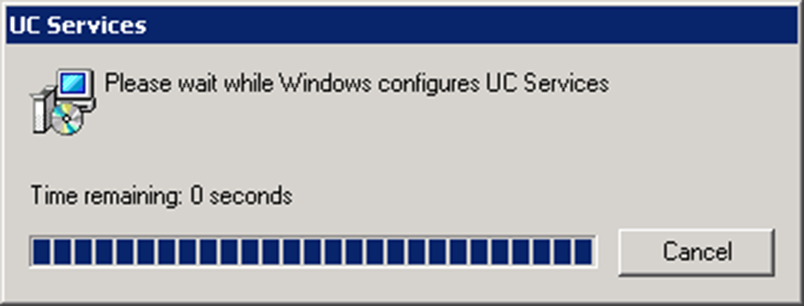
5.Applicable services will be stopped by the program.

6.The wizard will continue with the upgrade.
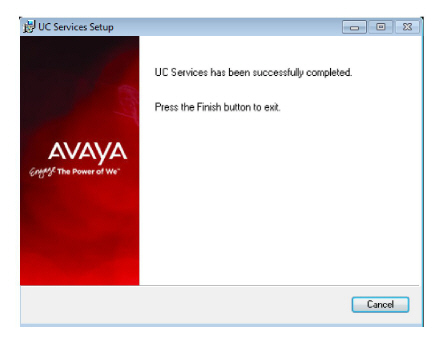
7.When finished, the following screen will appear. Click Finish to complete the upgrade.
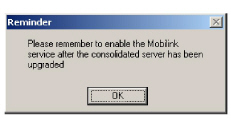
8.You will be reminded to start the Mobilink service on the Consolidated server before you use the program.
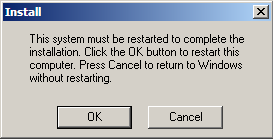
9.When prompted to restart the server, choose Cancel and return to the appropriate step of the Upgrade Procedure for High Availability on page 574 of this manual.
|
Note: Remember to restart all services that were stopped. Or reboot each server to restart the services. |
Carbonite availability is not supported by Avaya Messaging 11.0 and later. Avaya Messaging supports native backup / failover for the Consolidated server on an HA installation. Carbonite must be removed from the servers as part of the upgrade procedure.
|
Important: The original 10.8 Target (Carbonite backup / mirror) Consolidated Server cannot be upgraded. |
For this procedure, you must have an existing, operating IX Messaging 10.8 HA installation with Carbonite Availability.
1.From the Carbonite Replication Console, pause then stop the failover process monitoring the Consolidated Server.
2.To be safe, on the Consolidated server, copy the \UC\DB folder to a secure location. Where possible, take snapshots of all Messaging Virtual Machines.
3.Uninstall Carbonite.
4.Shut down the Target Consolidated Server (Carbonite backup / mirror).
5.Complete the HA upgrade procedure outlined on here.
During the upgrade for each server, make sure you enable the option to use a Secondary Consolidated Server.
Enter the new Secondary Consolidated Server Name / IP Address when prompted.
6.Create the new Secondary Consolidated Server as outlined on here to add it to the system. Make sure it has the same Server Name and IP Address used in step 5.
Upgrading from a non-HA Installation
Use this section if you have an existing Avaya Messaging installation that you want to upgrade to High Availability. Please make sure that your license has also been properly upgraded.
|
Note: Click here to learn about updating a full HA to the latest version. |
|
Caution: It is strongly recommended that the Avaya Messaging data files be backed up before performing any updates. Copy the database (C:\UC\DB), messages (C:\UC\Messages), and the prompts (C:\UC\Prompts) files. |
Before installing High Availability, Avaya Messaging must first be updated to the latest 11.0 release. See the appropriate sections of this manual for detailed information on updating Avaya Messaging.
•Avaya Messaging 9.X+ to 11.0 Upgrade (SIP) on here.
Once Avaya Messaging has been updated to 11.0, High Availability can be installed.
The High Availability system requires at 3-10 computers to act as servers: 1 Primary, 1-20 Secondary, and 1 Consolidated servers.
|
Warning: The Primary Voice Server must be the first server installed on an HA system. |
The machine where the Single Server version of Avaya Messaging is installed will become the Primary Voice Server under HA. The licenses for both versions reside on this machine.
1.On the Single Server computer, launch the Avaya Messaging installation wizard.
2.You will be asked whether you want to repair the current installation, to modify the current installation, or to remove the program from the computer. Choose Modify.
Click OK to continue.
3.The installation wizard will run. Continue with the Primary Voice Server installation procedure.
Once the Primary Voice Server is running, the Consolidated Server can be installed.
On the Consolidated Server computer, launch the installation wizard and follow the setup process.
After the Primary and the Consolidated Servers are ready, all of the Secondary Voice Servers can be installed.
On all of the Secondary Voice Server machines, launch the installation wizard and follow the setup process.
It is necessary to share the UC installation folder so that all of the programs and users have the required access.
The following user accounts require full permissions to the UC folder:
UCIIS (local) - this is called UCIISUser.
DCOM (user) - the name of the domain user with admin rights on the local machine.
Follow this procedure on the Primary, the Consolidated, and on each Secondary server on the system.
Also share the folder if you are using a Remote Web Server.
If you are using Remote CSE Servers, the folder only needs to be shared with the DCOM user.
1.Locate the UC folder in Windows Explorer, then Right-click > Properties > Sharing.
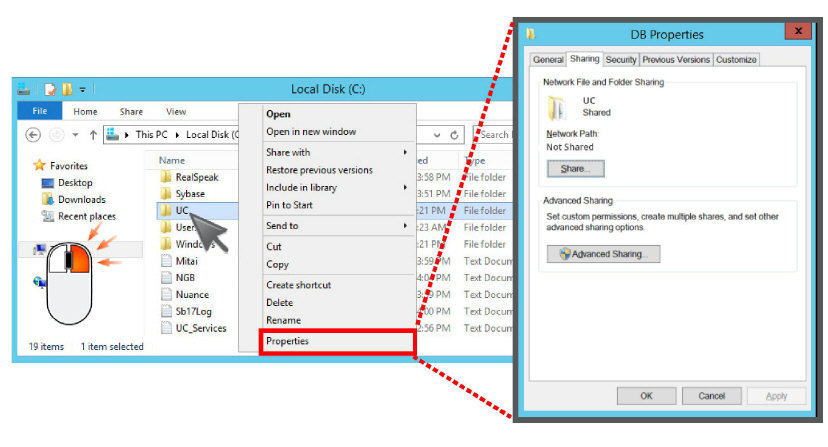
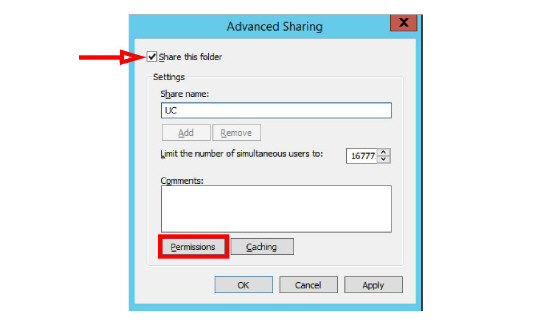
2.Click Advanced Sharing. Enable the Share this folder checkbox.
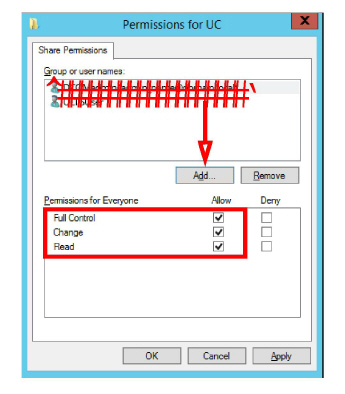
3.Click Permissions, and Add the required users, giving each Full control of the folder.
Remove the user Everyone.
4.Click Apply and return to the Windows desktop.
By default, during a failover condition, the Message Waiting Indicator (MWI) functions are not automatically re-routed to the alternate servers.
You can manually enable this functionality.
|
Note: This configuration is optional. |
•Add a new line to the ETSIPSERVICE.INI file found in /UC/Configuration folder.
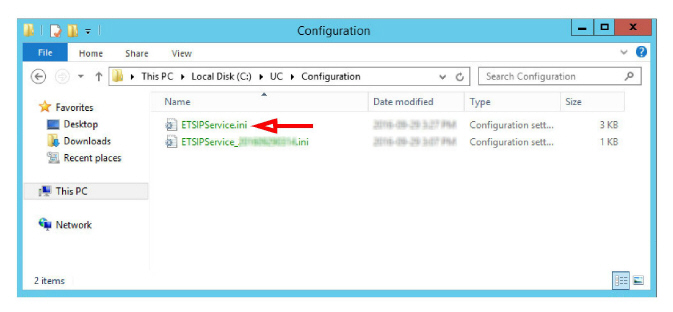
•Open the INI file with a text editor (e.g. Notepad). Locate the PBX section and append the following line:
Fail Over=Yes
•Ensure that Keep Alive is also enabled ( Keep Alive=Yes ).
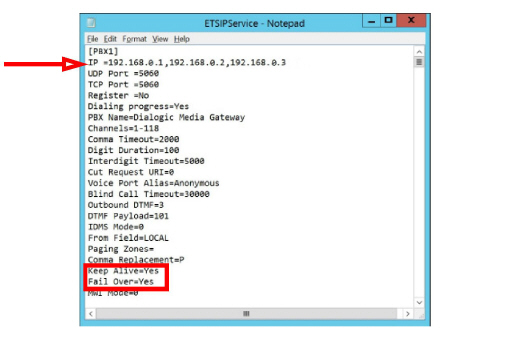
•Verify that there are at least 2 IP addresses listed under IP. These are for your PBXs and can be entered here if necessary, or configured through the SIP Configurator.
•Save the file and reboot the server.
|
Note: This must be done on each voice server (the Primary and all Secondary servers) in the array. |