In a High Availability environment, server failover is handled automatically for all voice servers (Primary and all Secondaries). The Consolidated server can be backed up using Carbonite Availability. However, Remote CSE servers require a different solution.
Apply the following procedure to all of the Remote CSE servers on your system. One additional server is required to be available as part of the system to take over when an active server fails. This server does not process any traffic, but it must be active to keep its database and other files current with the rest of the system.
This procedure does not provide automatic, unattended failover as some action is required by the administrator.
When setting up multiple Remote CSE servers on a system, configure the Feature Groups on the Consolidated Server to use the appropriate Remote CSE for each group.
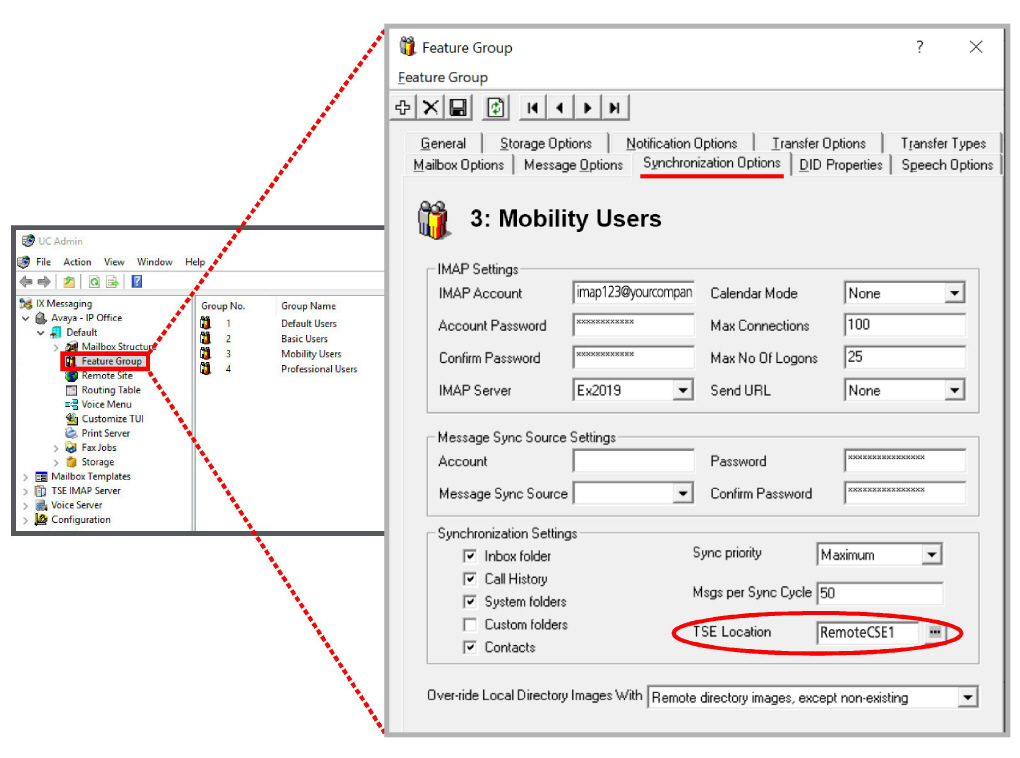
1.On the Consolidated server, open UC Admin > Feature Group > Synchronization Options.
2.Set the TSE Location field for each Feature Group to the desired Remote CSE server.
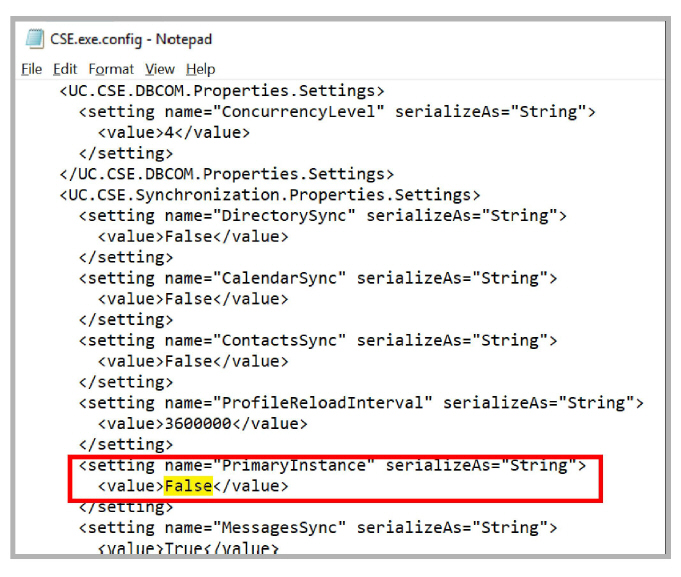
3.On each of the Remote CSE servers, including the spare, go to the Avaya IX Messaging installation location, and open the \UC\UCCSE\ folder. Double-click the CSE.exe.config file to open it in Notepad.
4.Change the Primary Instance value to False. Save the file.
When a Remote CSE server fails, the spare machine must be brought into service and the broken one removed for repair.
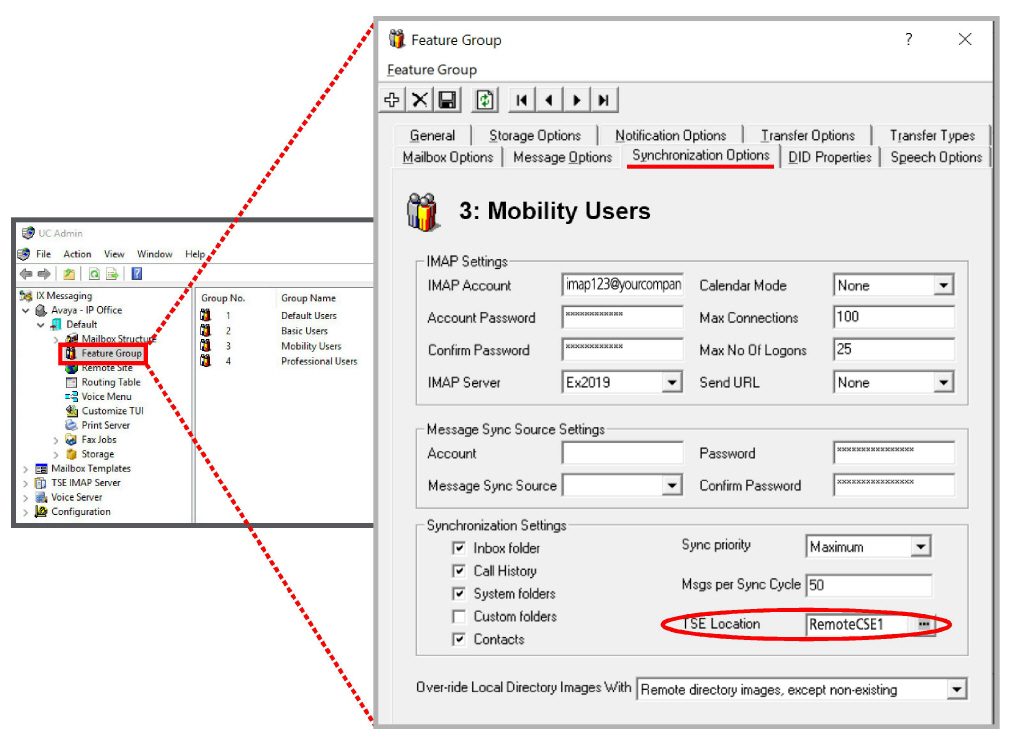
1.On the Consolidated server, open UC Admin > Feature Group > Synchronization Options.
2.For each Feature Group that used the broken Remote CSE server, change the TSE Location field. Enter the PC name of the spare machine in this field. Click Save when finished each Feature Group.
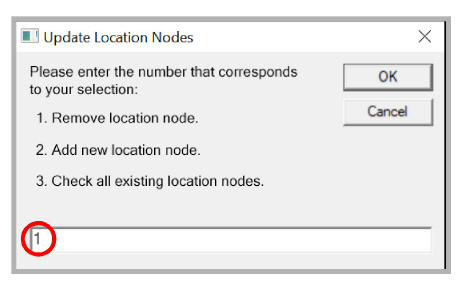
3.On the Consolidated server, open the \UC\DB folder and double-click the UpdateLocationNodes application.
4.Enter 1 in the space provided to Remove location node. Click OK.
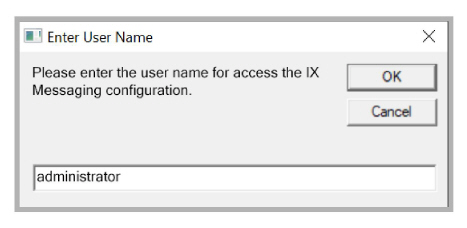
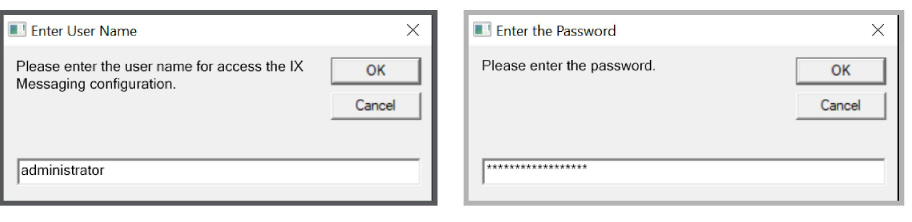
5.Enter the username of the administrator account for Avaya IX Messaging. Click OK.
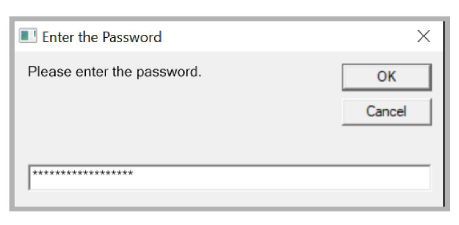
6.Type in the administrator password. Click OK.
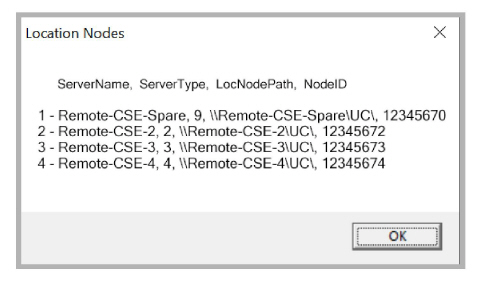
7.Enter the number which corresponds to the failed Remote CSE server. Click OK.
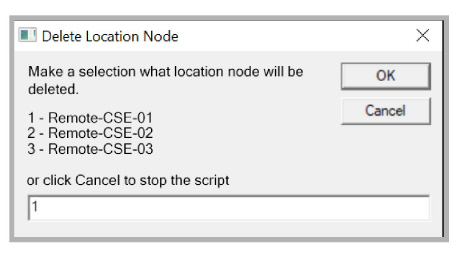
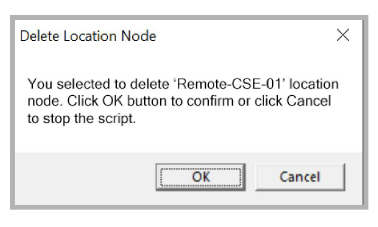
8.You are prompted to confirm the deletion of the server. Click OK to confirm. This will remove the failed server from the list of remote CSE servers in the database.
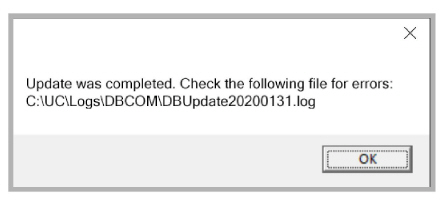
9.The broken server has been removed.
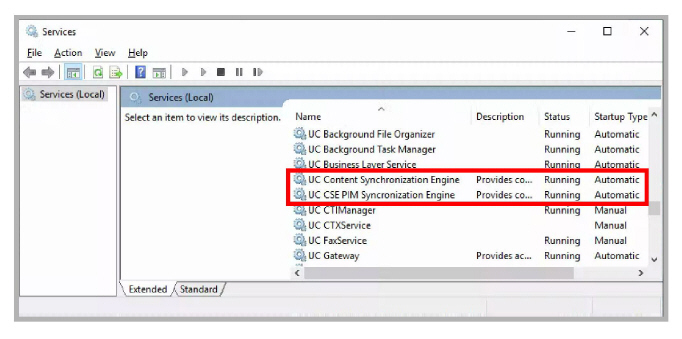
10.Restart these 2 services on the spare server: UC Content Synchronization Engine, UC CSE PIM Synchronization Engine.
11.The Remote CSE server has been successfully replaced with the spare.
After a failover, once the broken server has been repaired or replaced, it can be put back into service either as the new spare server, or to take over as the active server again.
If you are returning the broken machine to service, do the following.
1.Reconnect the repaired computer to the network.
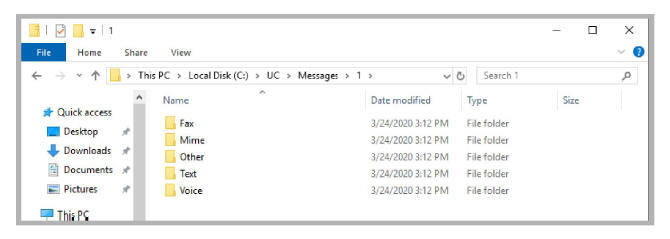
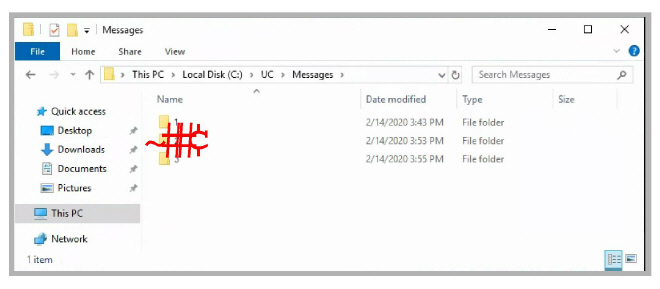
2.From any of the other servers, copy the contents of the Messages folder ( \UC\Messages\ ) to the same folder on the repaired server. This will ensure that the new machine has the latest files.
If you have more than one company installed on the system, select the number for the company you want to restore.
3.Run the UpdateNodesLocation application and enter 3 to Check all existing location nodes.

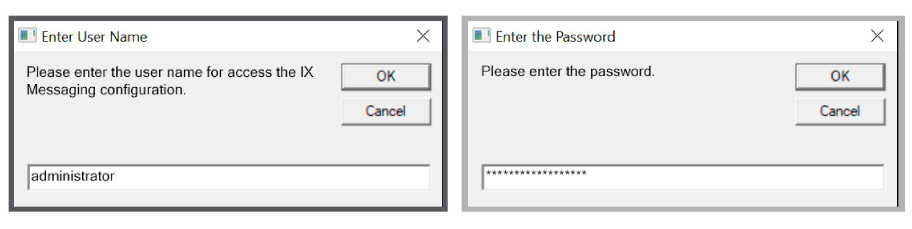
4.Enter the username and password of the administrator account for Avaya IX Messaging.
5.Verify that the server you are returning to service does not appear on the list.
If the restored computer is in the list, no further action is required.
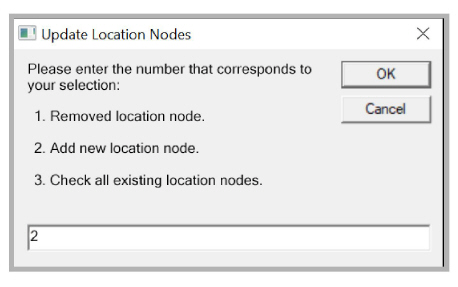
6.If the new machine is not on the list, it must be added to the nodes. On the Consolidated server, run the UpdateNodesLocation application again and select 2 to add a new node.
7.Enter the username and password of the administrator account for Avaya IX Messaging.
8.Enter the computer name of the node being added to the list. Click OK when finished.
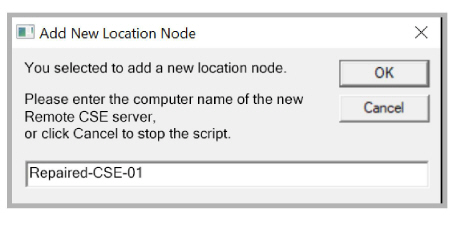
9.The repaired computer has been added to the list of Remote CSE servers in the database.
Follow the steps in chapter 17 - Dedicated CSE Server Installation to install the new Remote CSE Server. It is not necessary to use the UpdateNodesLocation application to add the new node. The new computer will be added to the list of remote CSE servers in the database during mobilink synchronization. However, the Messages folder must still be copied to ensure that it’s files are up-to-date.
It is only necessary to copy the folders for the message types you are using.